# Introduction
Welcome to Lapce!
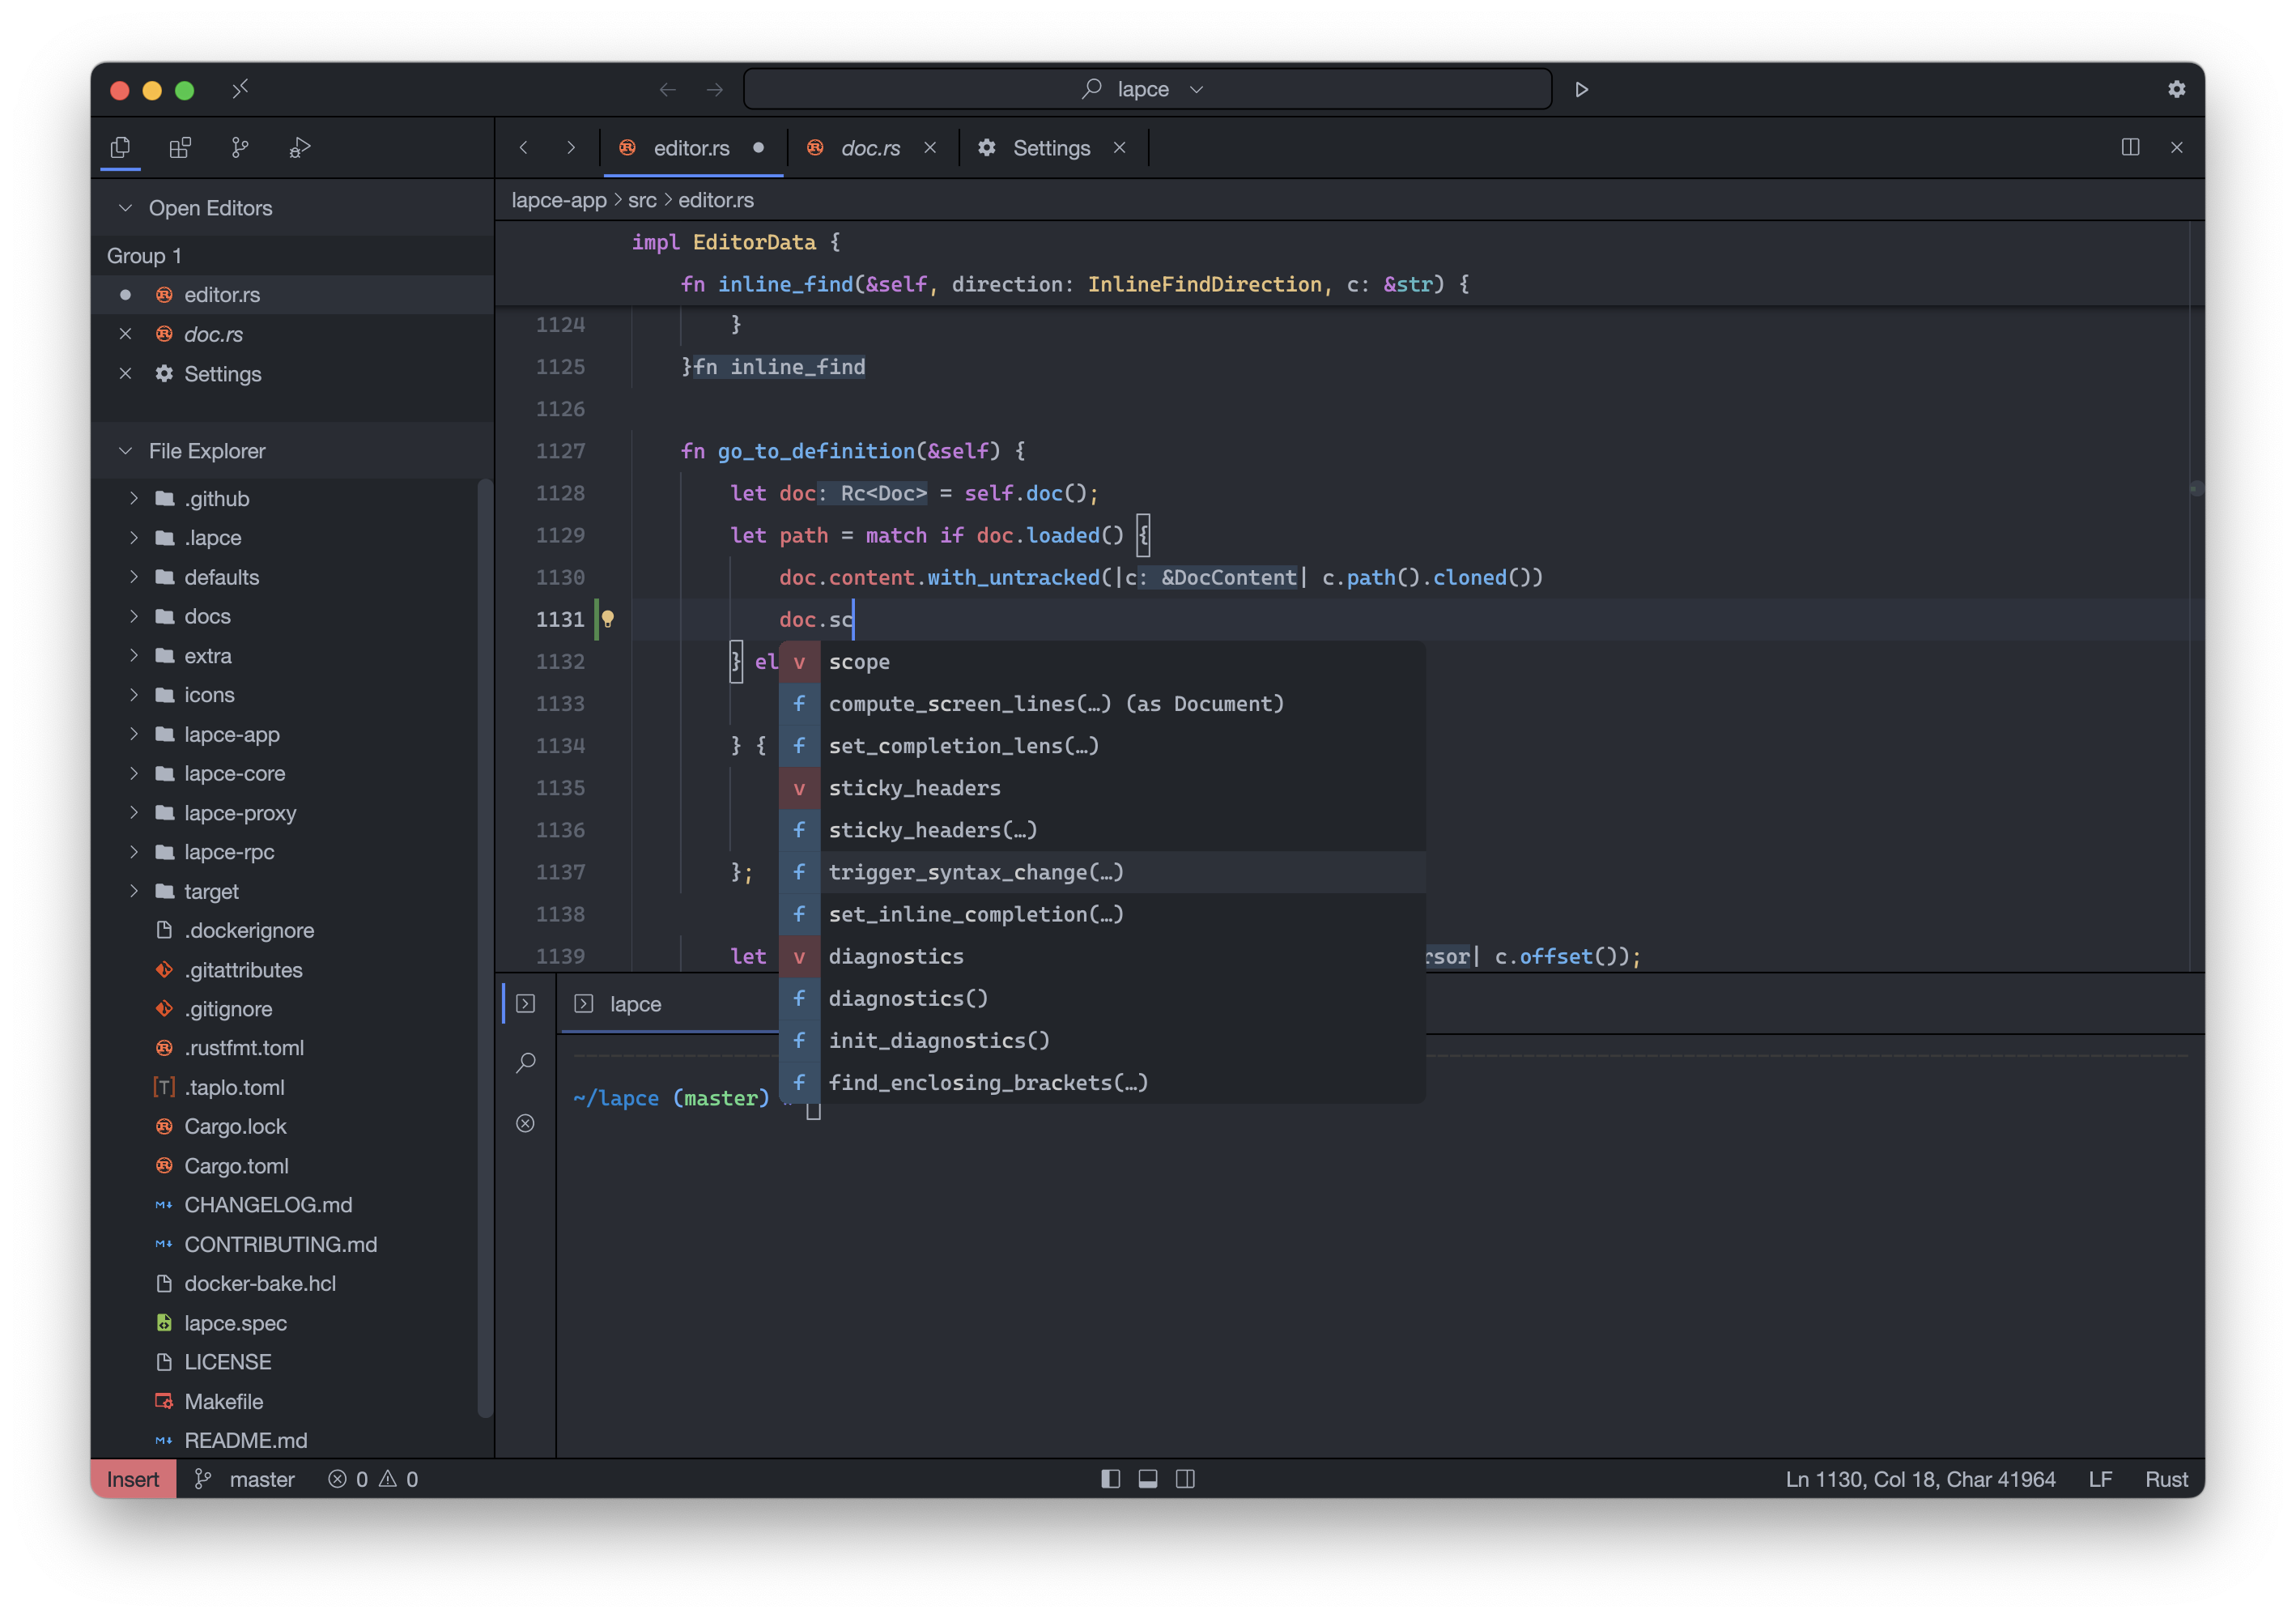
[Lapce](https://lapce.dev) is an open source code editor written in Rust. By utilising native GUI and GPU rendering, and with the performance Rust provides, Lapce is one of the fastest code editors out there.
# Setup
Lapce currently supports Linux, Windows and macOS. Simply download [Lapce](https://lapce.dev/#downloads-all) for your platform and install it if needed.
## Workspace
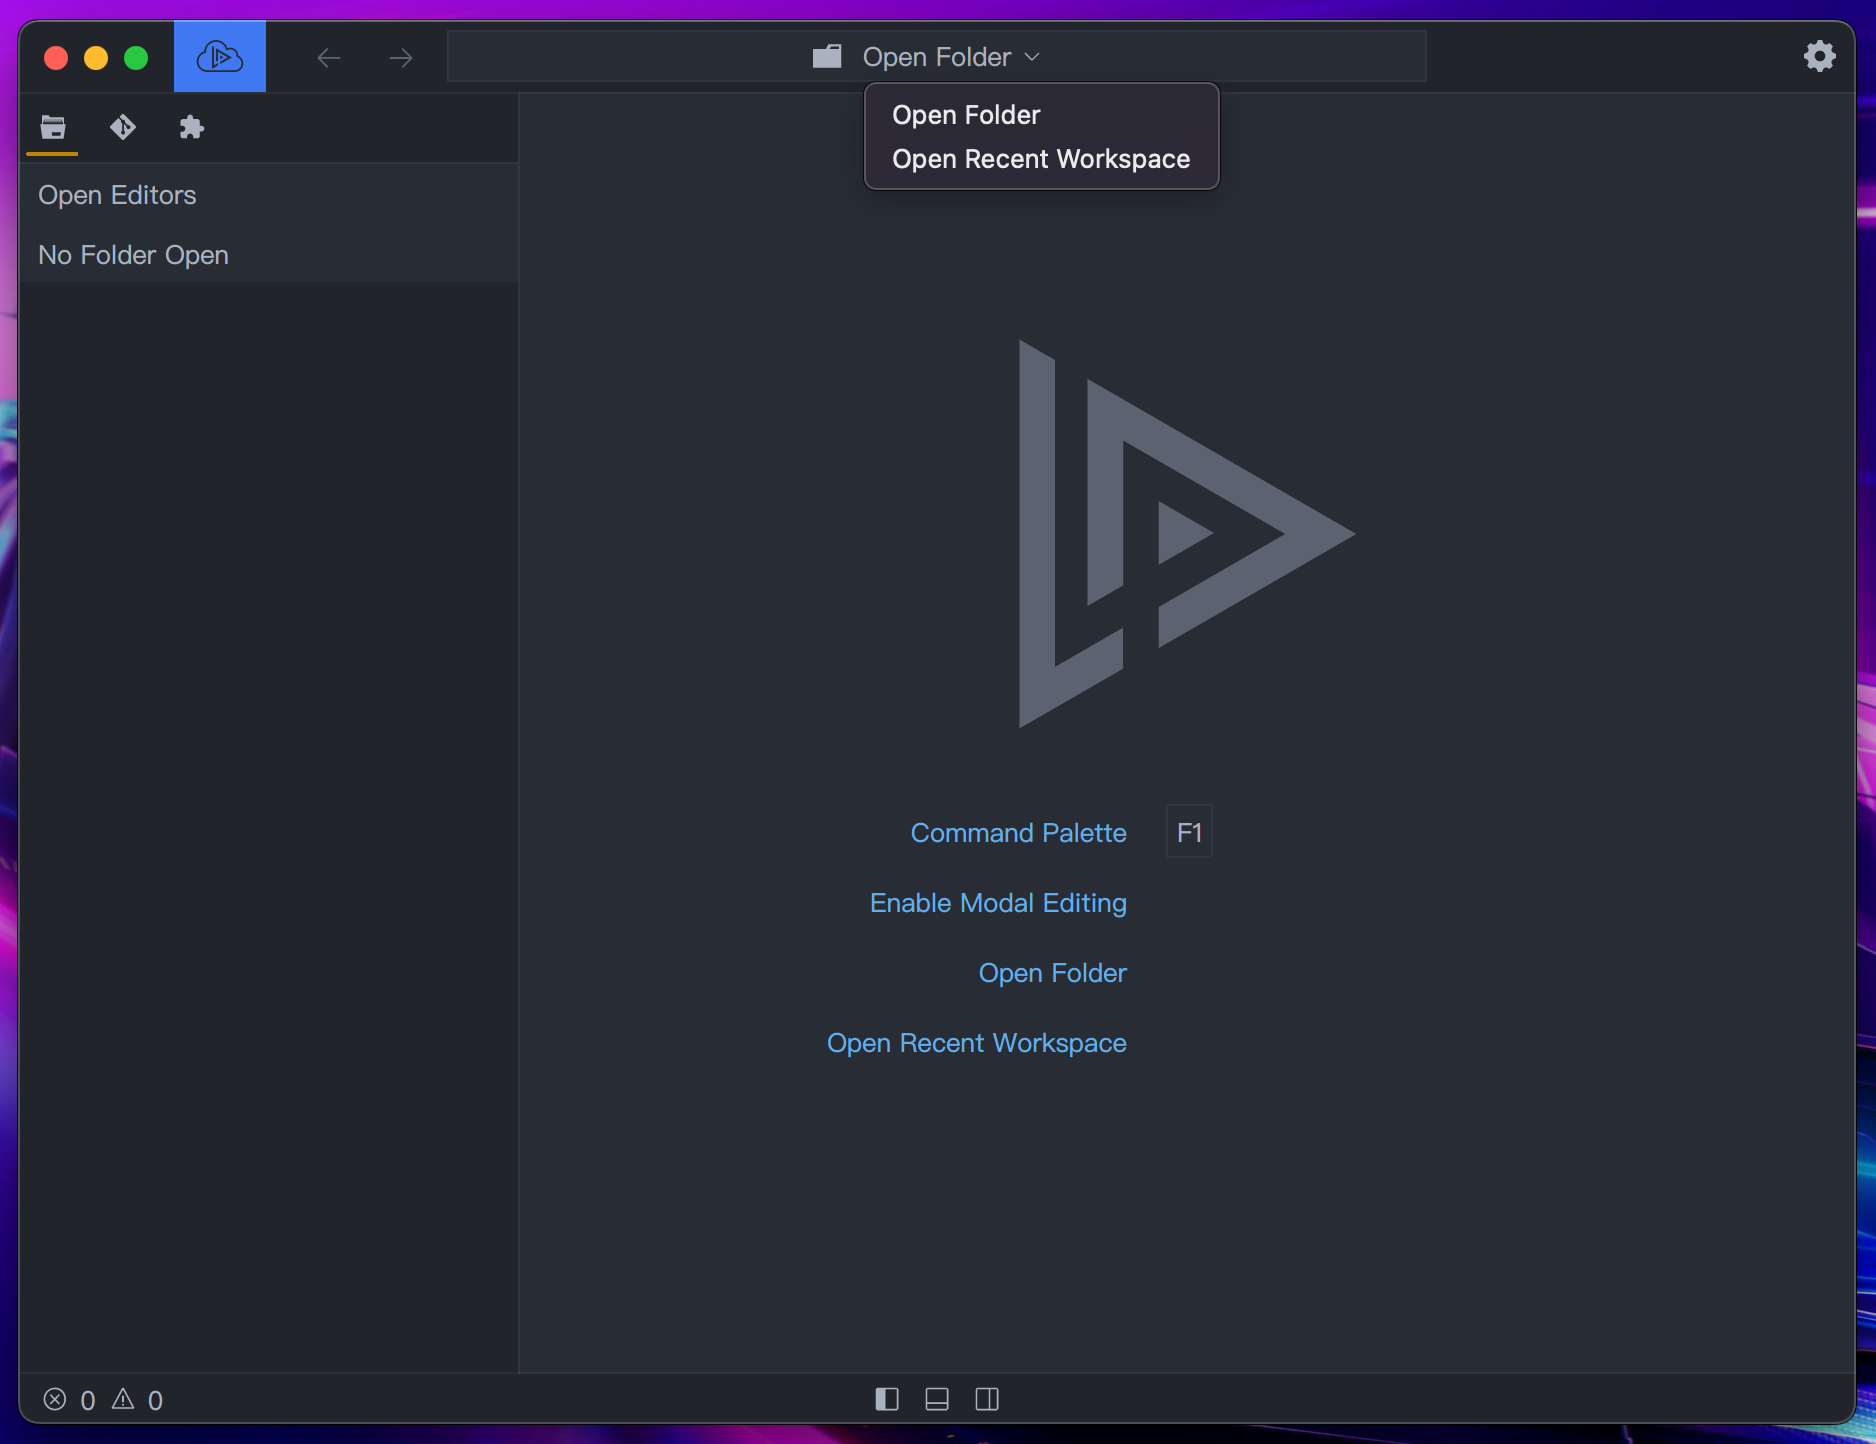
To start to work on your project, the best way is to open your project folder as a workspace in Lapce. Click arrow down icon next to `Open Folder` on the top, you will open the workspace menu. Click `Open Folder` in the dropdown menu.
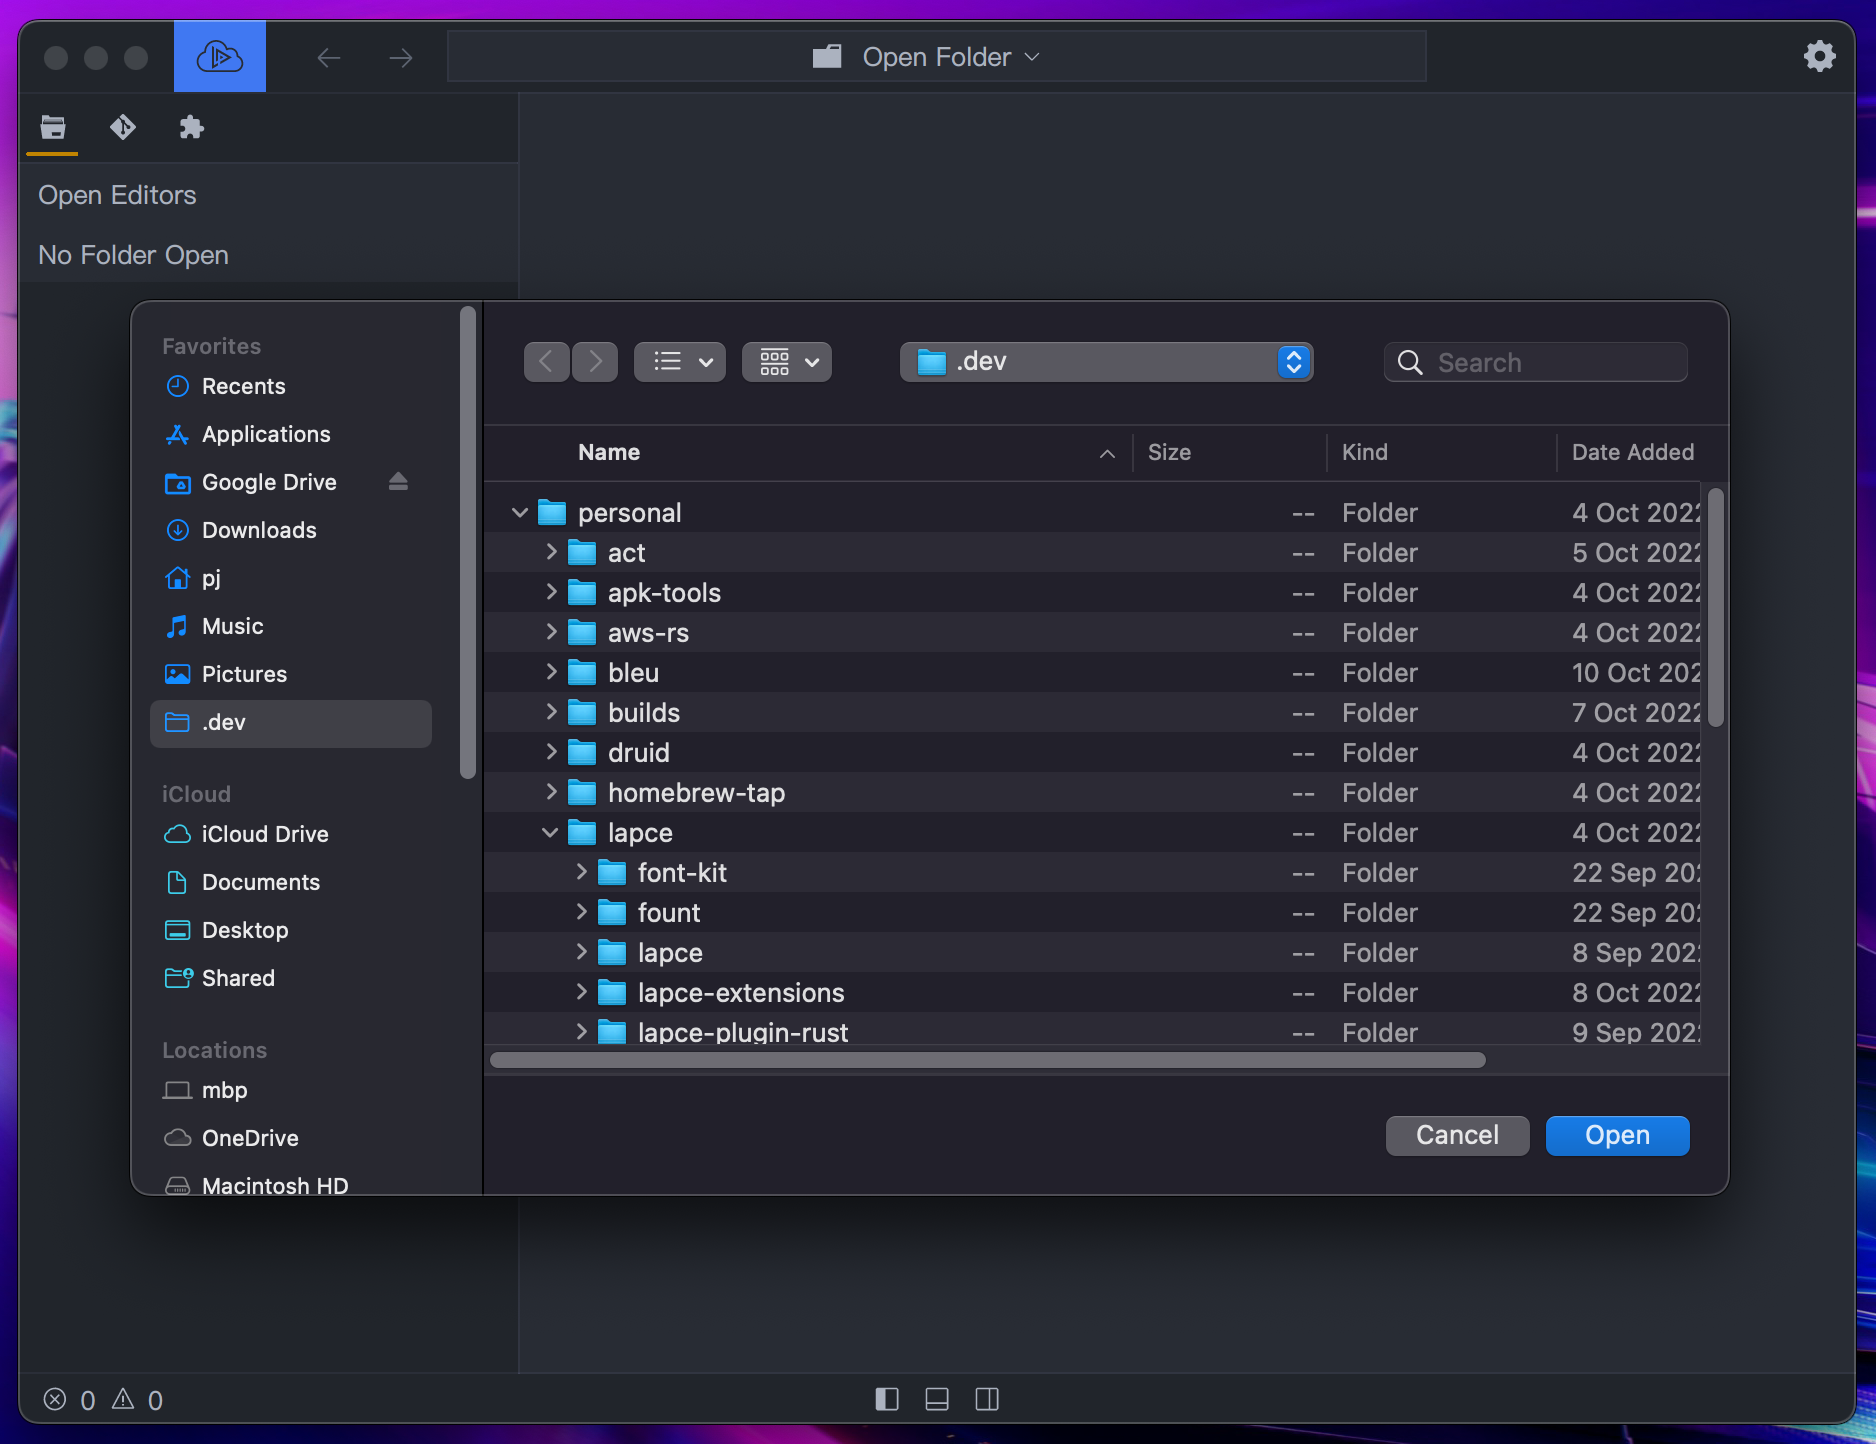
Then choose the folder you would like, click open.
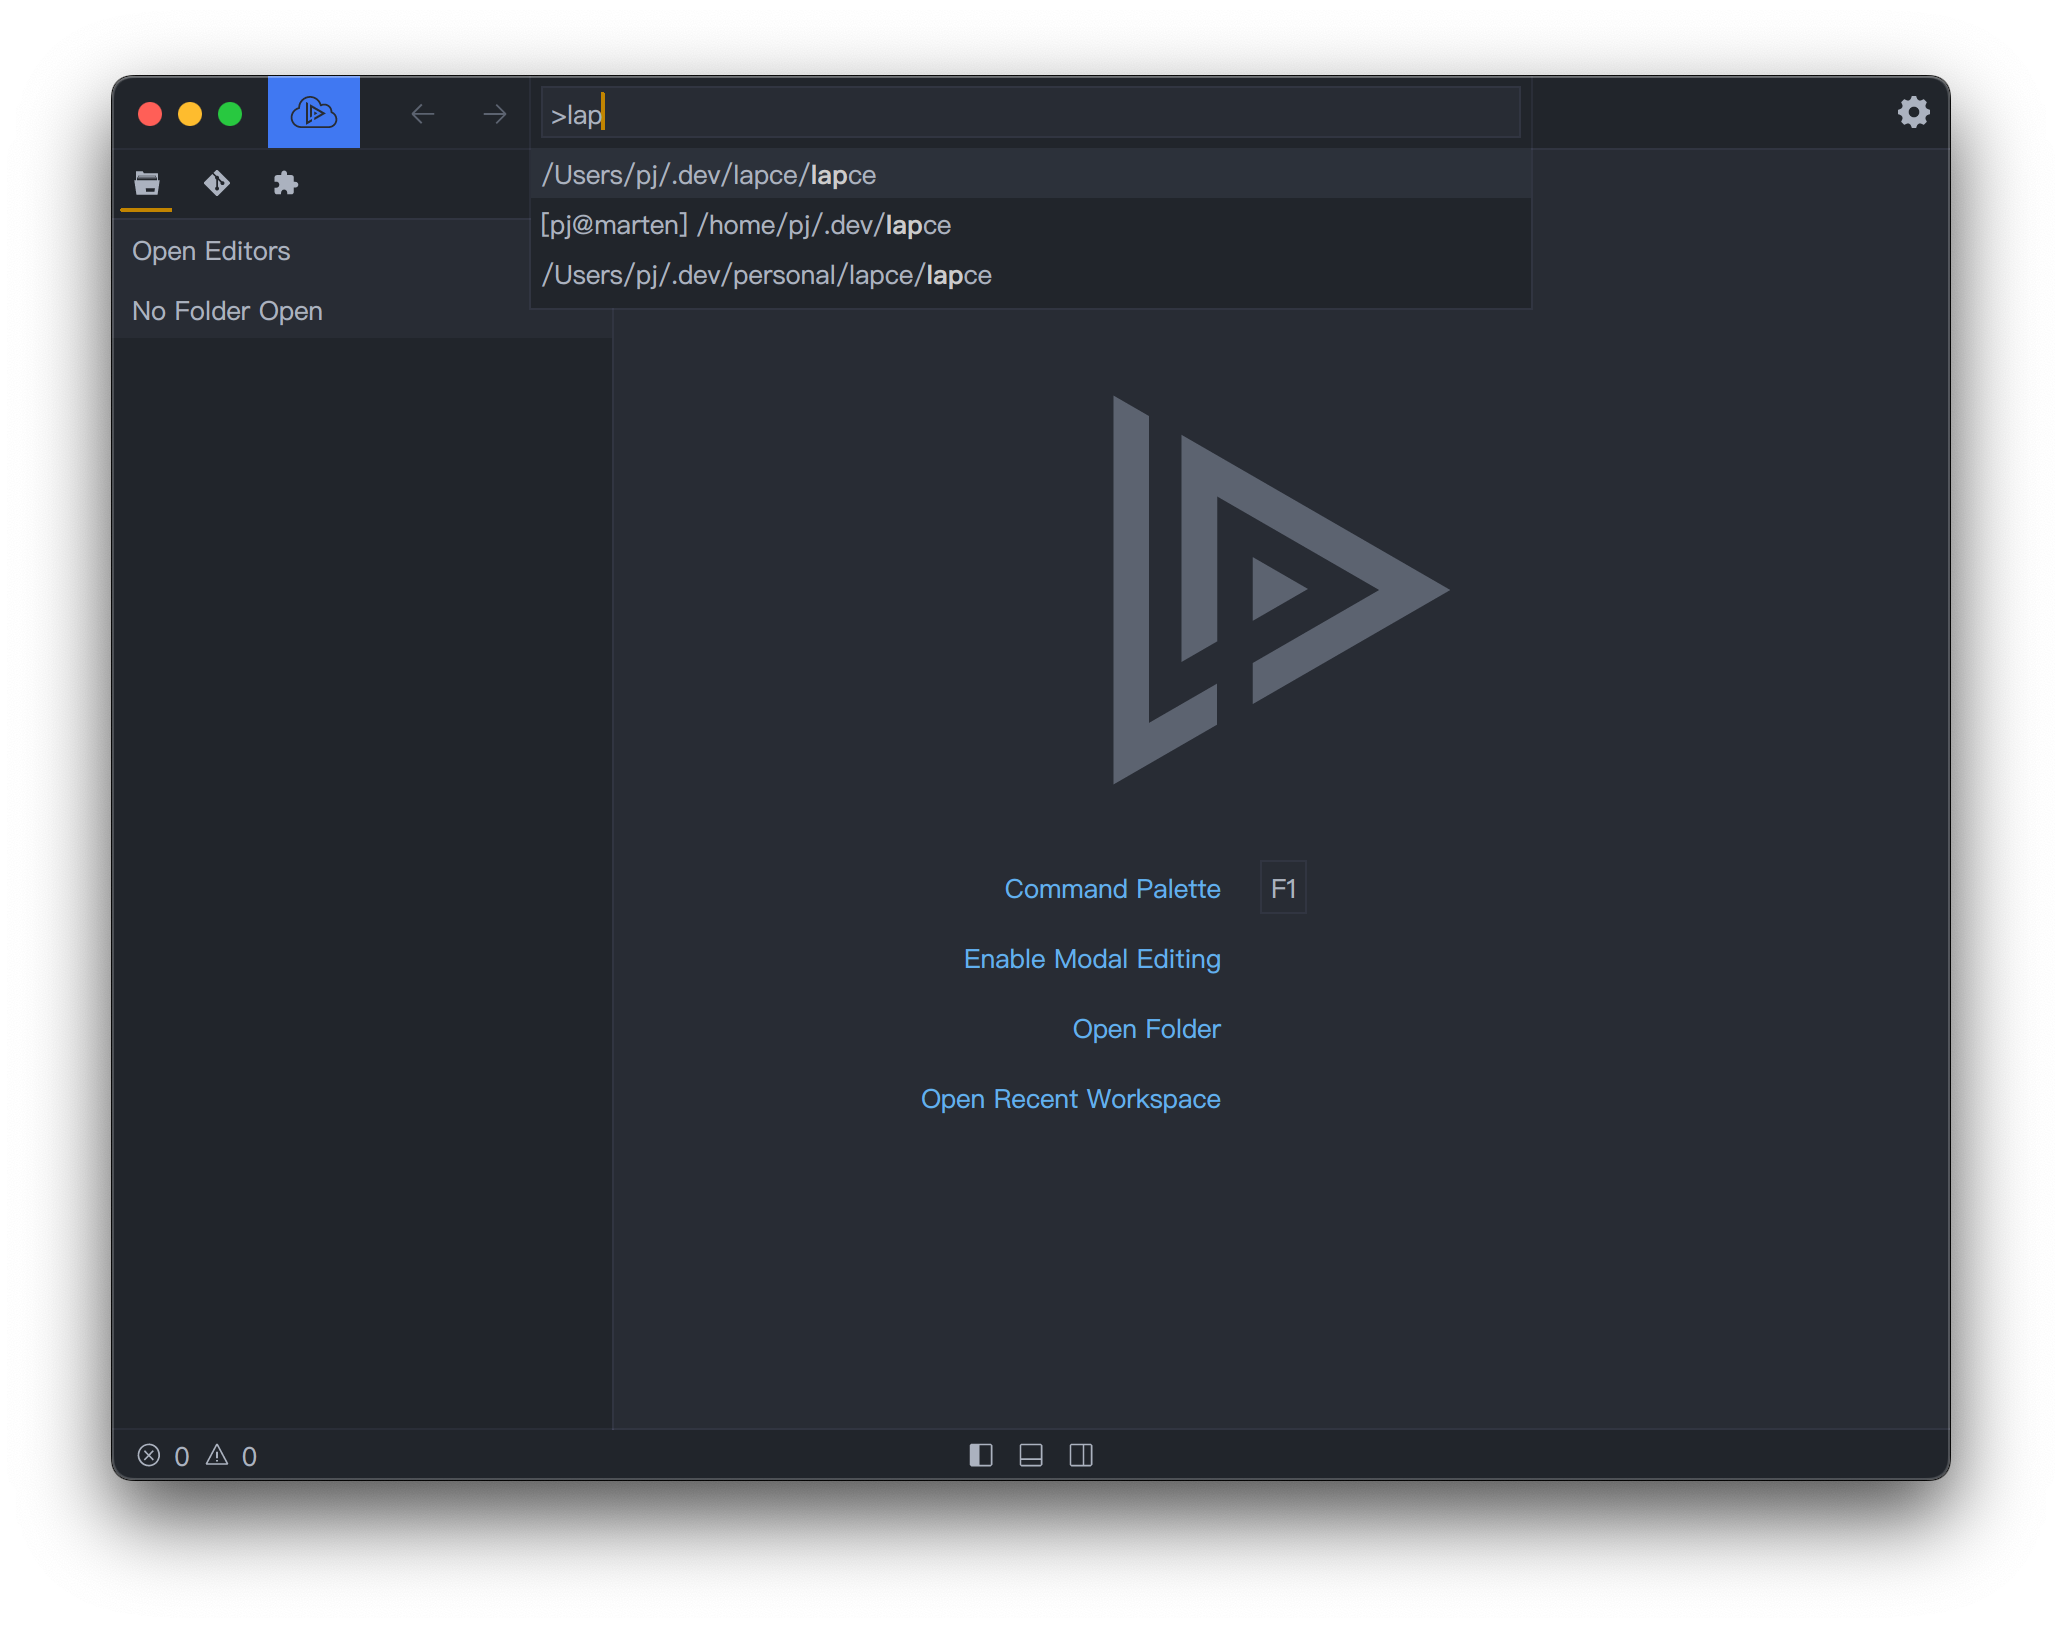
Alternatively, you can also choose `Open recent workspace` in the dropdown menu, which you can fuzzy search the workspaces you have opened before.
## Work with files
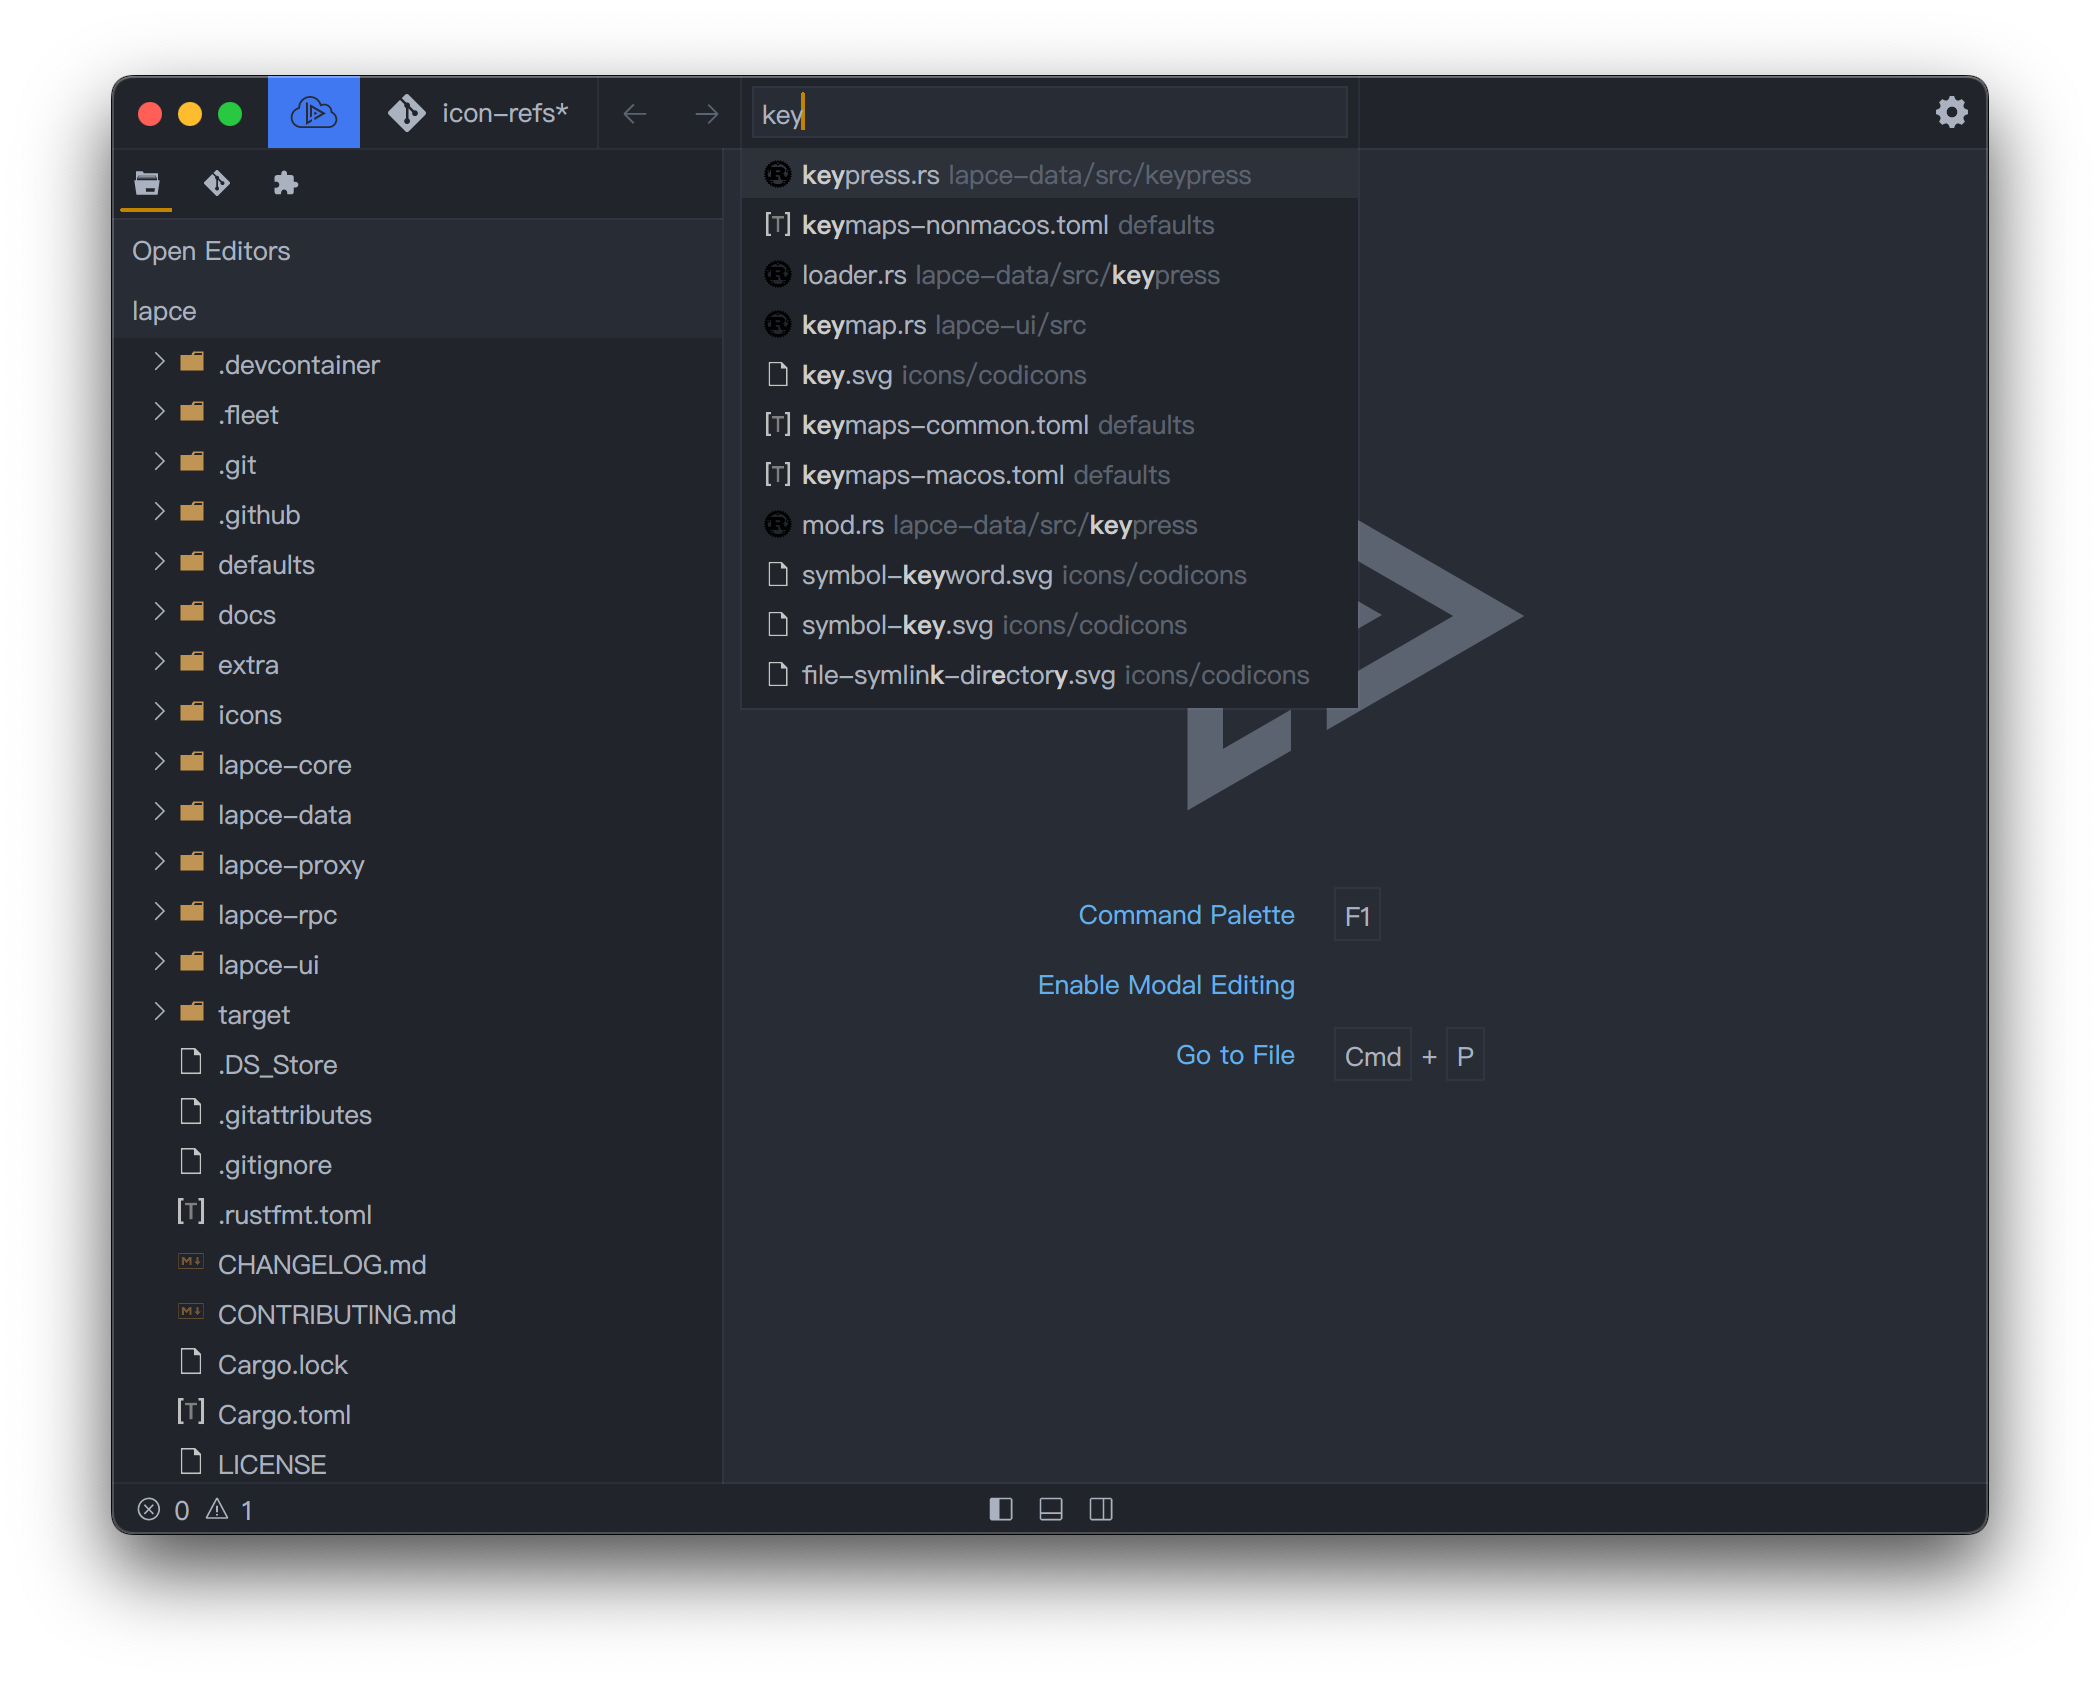
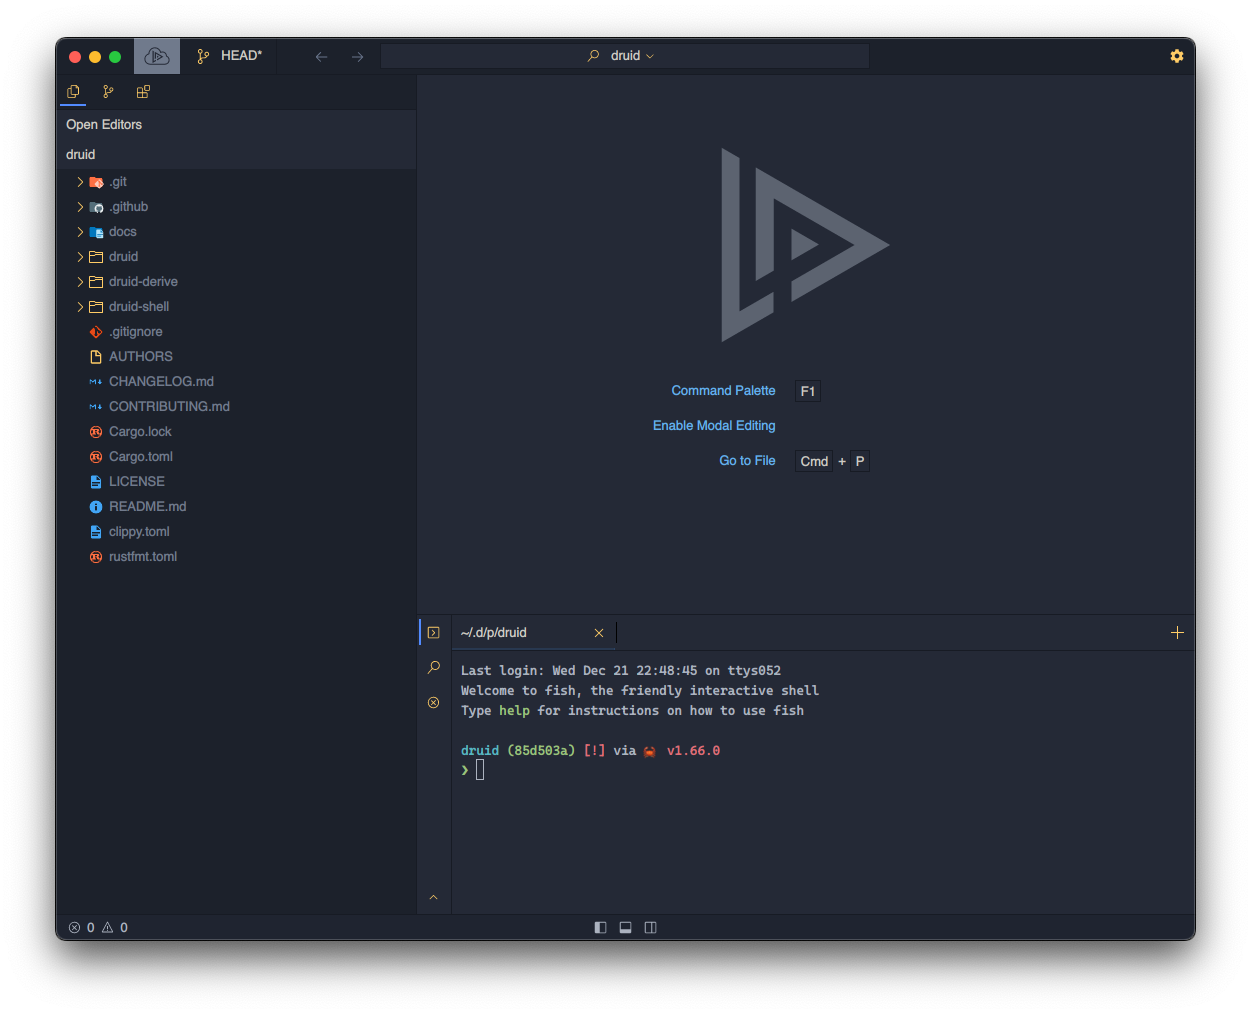
After you opened a workspace, the files will appear in the file explorer on the left panel. You can navigate the files and folder there and open them by clicking on the file name. Alternatively, you can use `Go To File` feature (`Cmd`+`p` on macOS and `Ctrl`+`p` on Linux and Windows) to fuzzy search files in your workspace for quicker opening.
# Command palette
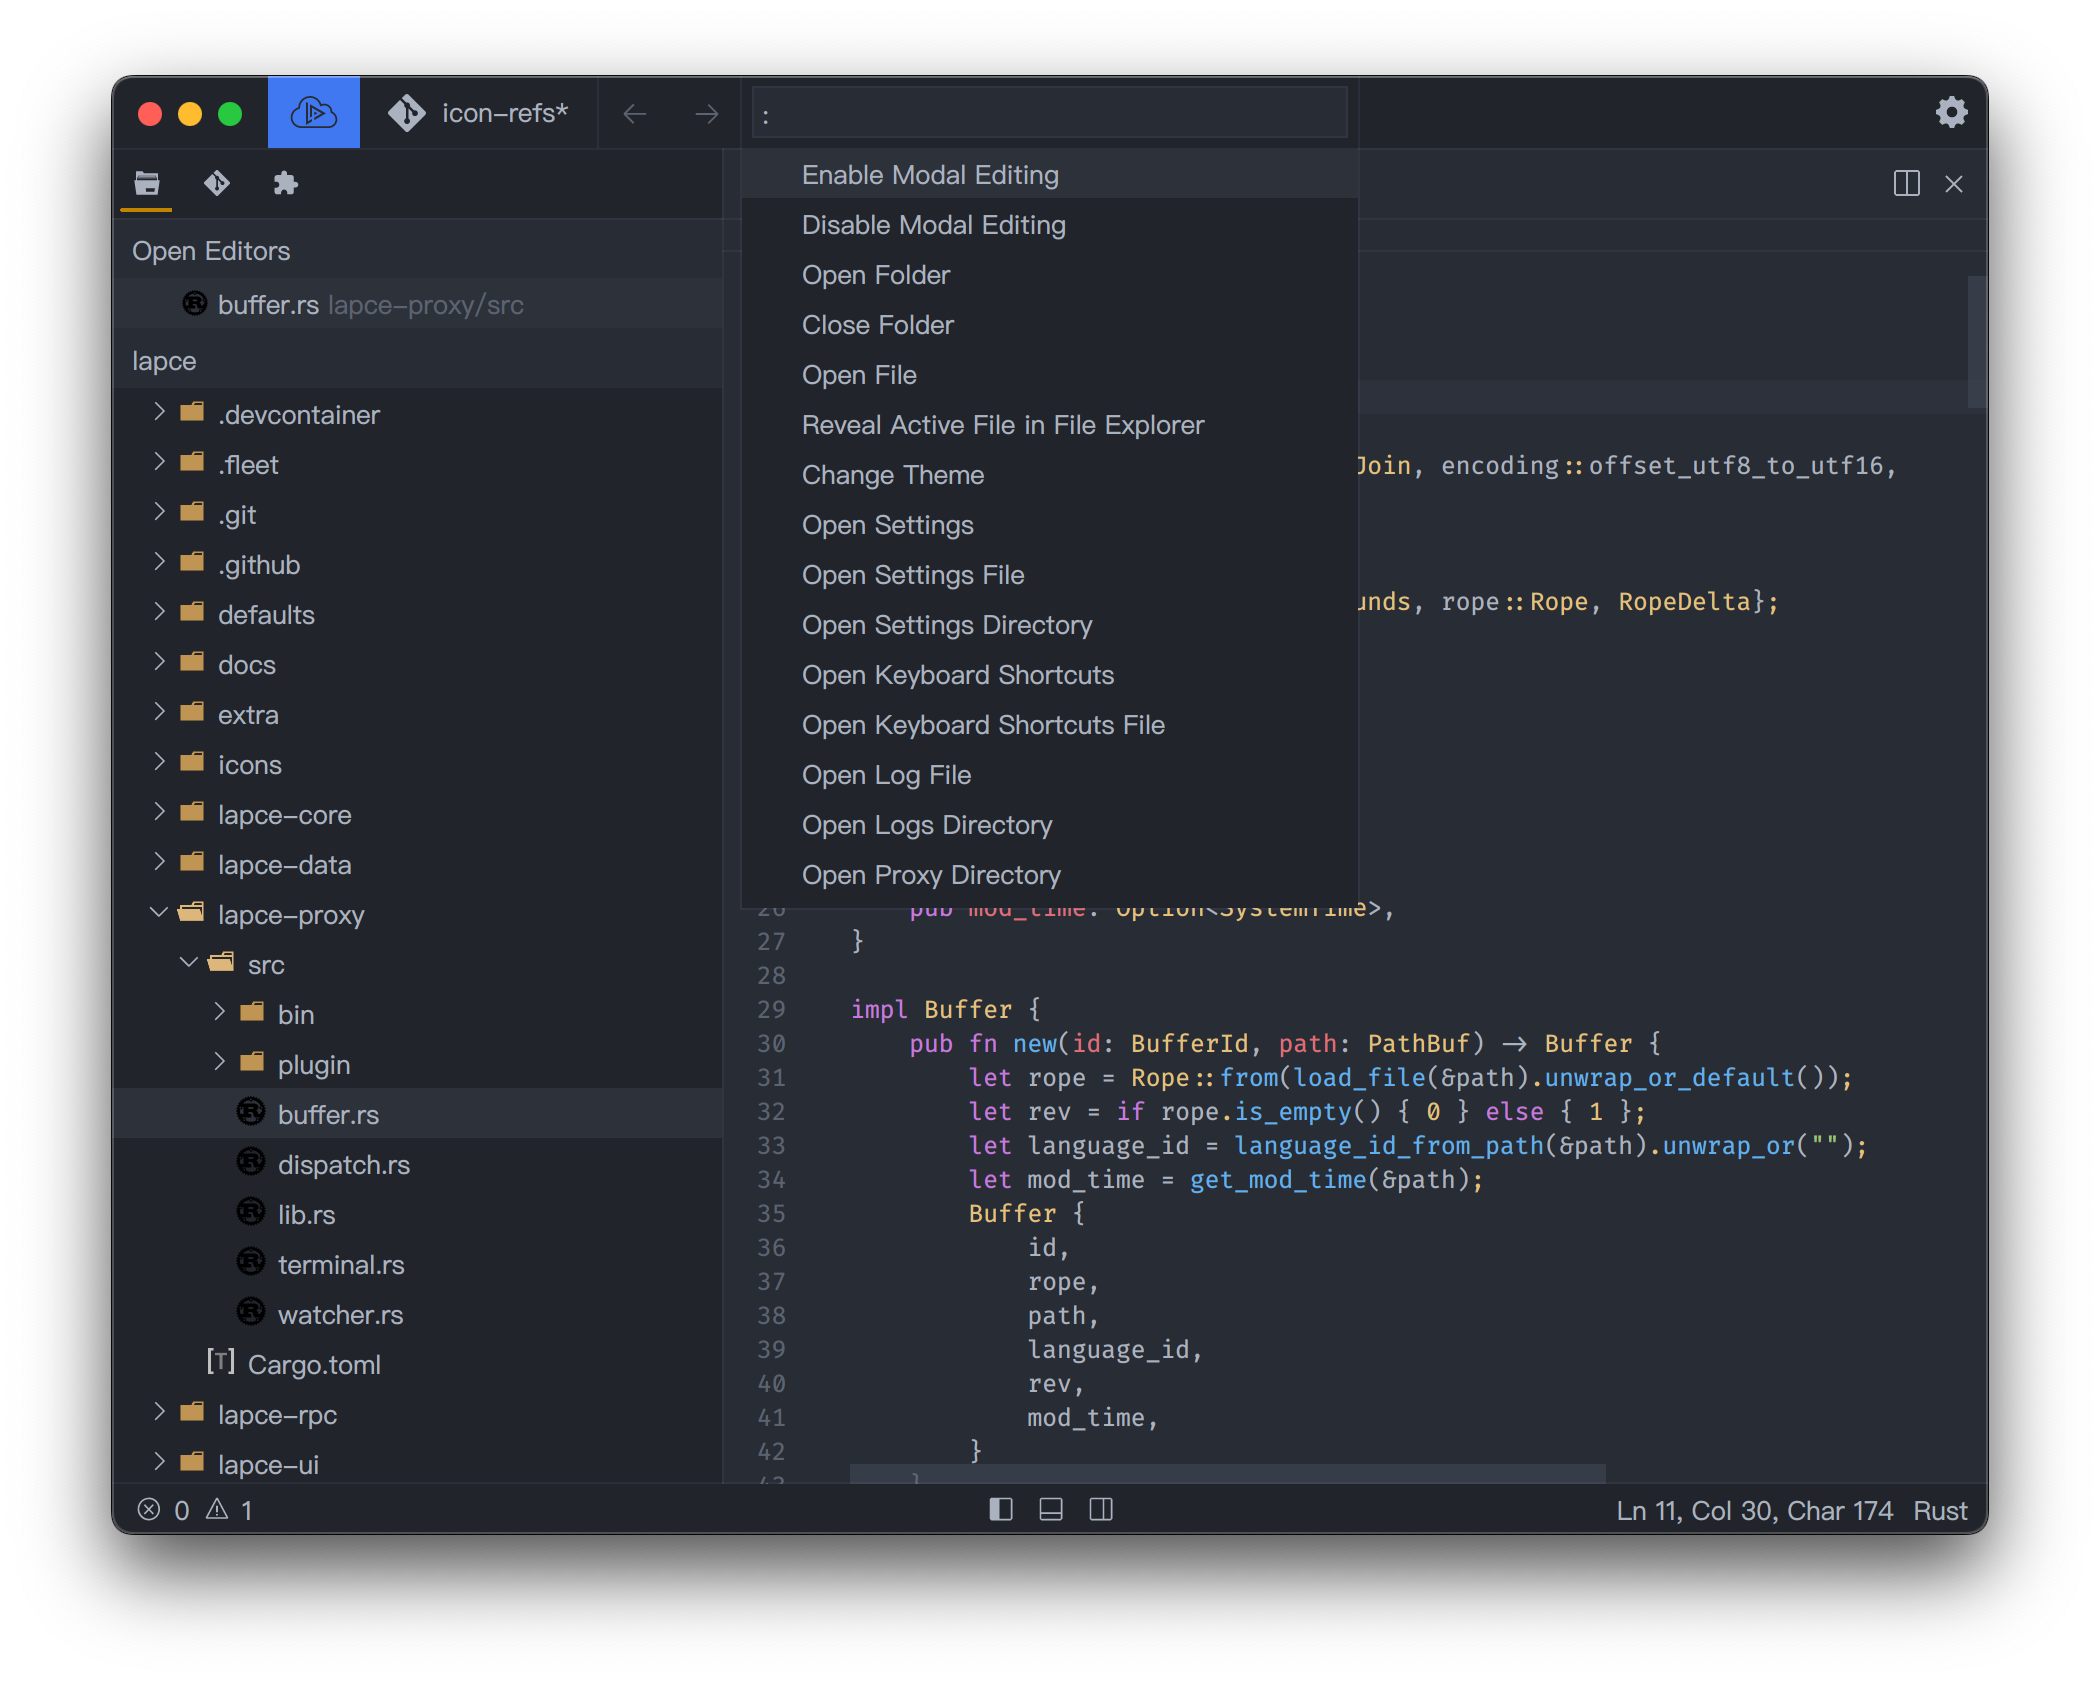
Lapce has a command palette, which has got all the commands that Lapce provides with an easy to use fuzzy search which let you get the command you want quickly. To open it, press `Cmd`+`Shift`+`P` on macOS, or `Ctrl`+`Shift`+`P` on Linux and Windows.
# Settings
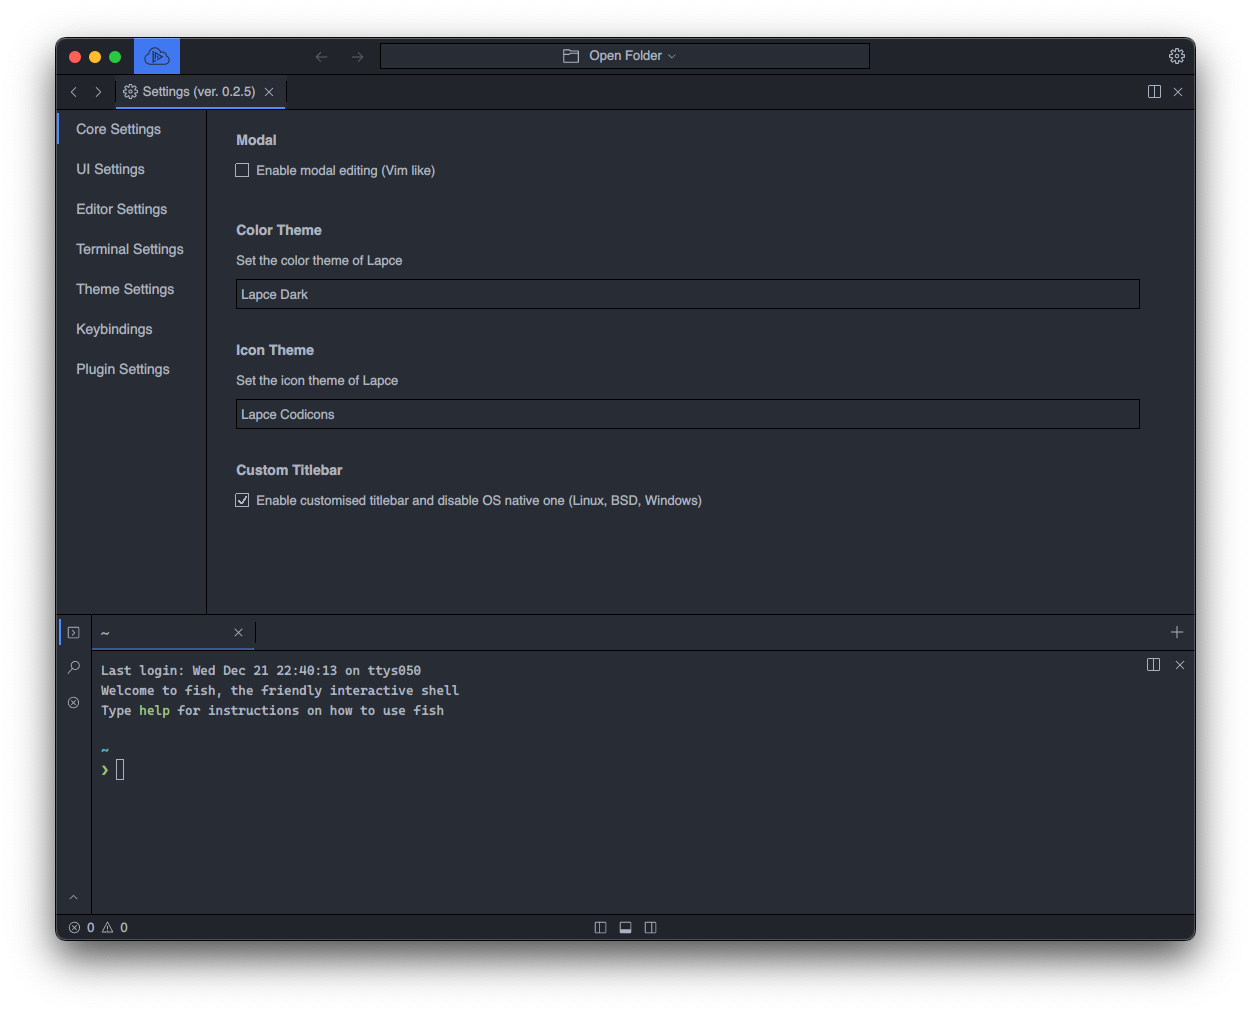
To see the settings and change them in Lapce, click the gear icon on the top right to open the settings menu.
You can change font name, size, and all other settings in the core settings and editor settings in the settings panel.
# Keybindings
To view the current keybindings and change them, click the gear icon in the top right and select `Open Keyboard shortcuts`.
## Finding a Keybinding
You can now see all the available commands that you can set a keybinding. You can fuzzy search them by the input box.
## Adding a Keybinding
Click on the row of the command you want to add to change a keybinding. It will have a popup box that shows the name of the command. Simply type in the key you want to bind to the command.
## Removing/Clearing a Keybinding
Click on the row, the popup should be empty by default. Clicking `save` while the box is empty will clear the keybinding.
# Modal editing
To use the Vim like modal editing feature, you'll first need to enable modal editing in Lapce. You can do it by clicking `Enable modal editing` on the first screen.
Or turn it on/off in the [settings](/get-started/settings) panel.
Or via the [Command Palette](/get-started/command-palette)
# Remote development
{% hint style="warning" %}
Currently opening workspaces via `Open folder` is not possible due to recent UI rewrite. To open a workspace when connected remotely you can use built-in terminal to run `lapce `.
{% endhint %}
{% hint style="warning" %}
Remote development works only with a SSH key authentication. If you want to use password, you can run Lapce via terminal with option `--wait` for it to attach to stdin/stdout. Lapce uses your host `ssh` program to handle any interaction, Lapce itself does not read `ssh` configuration, keys or any other related files.
{% endhint %}
Lapce has a remote development feature, which you can connect Lapce to a remote machine via SSH. After connecting to the remote machine, all the plugins, and commands will be run from the remote machine. You would have exactly the same experience as if you were working a local workspace, without feeling any differences.
To use it, click the remote icon on the top left
It will pop up the input box for you to put in the SSH connection details. You can use `@` or the `Host` name (do not confuse with `HostName` in SSH) you configured in your `~/.ssh/config`.
{% hint style="warning" %}
Lapce will use your host OpenSSH installation (`ssh` program) to connect to remote target, it doesn't read that file directly so it will not display any host configuration from that file. Palette input in Lapce will show you only recent SSH connections that you made in Lapce itself.
{% endhint %}
Upon successful ssh connection, lapce will attempt to download proxy directly from remote host, and in case of failure, it will try to download it through your local host and upload it to remote machine. Once `lapce-proxy` downloaded and started on the remote machine your local Lapce instance establishes a connection to it via SSH tunnel.
After it's connected, it will show a green connected status on the remote development icon. Then you can start to `Open folder` as if you are opening a local folder.
# Themes
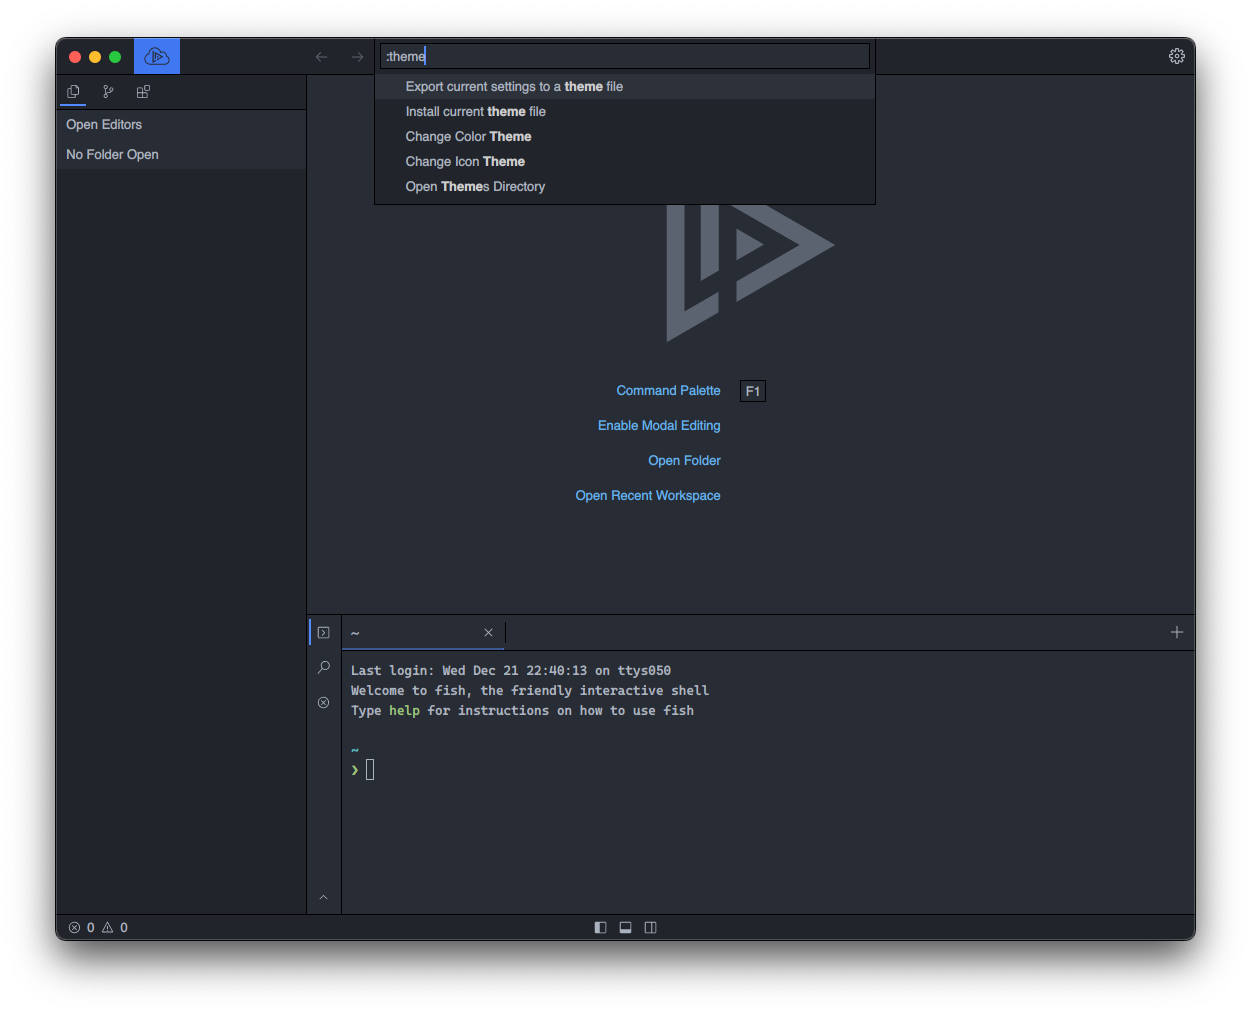
You can customise how Lapce looks via Colour Themes and Icon Themes either via [Command Palette](/get-started/command-palette)
or via [Core Settings](/get-started/settings)
## Installing themes
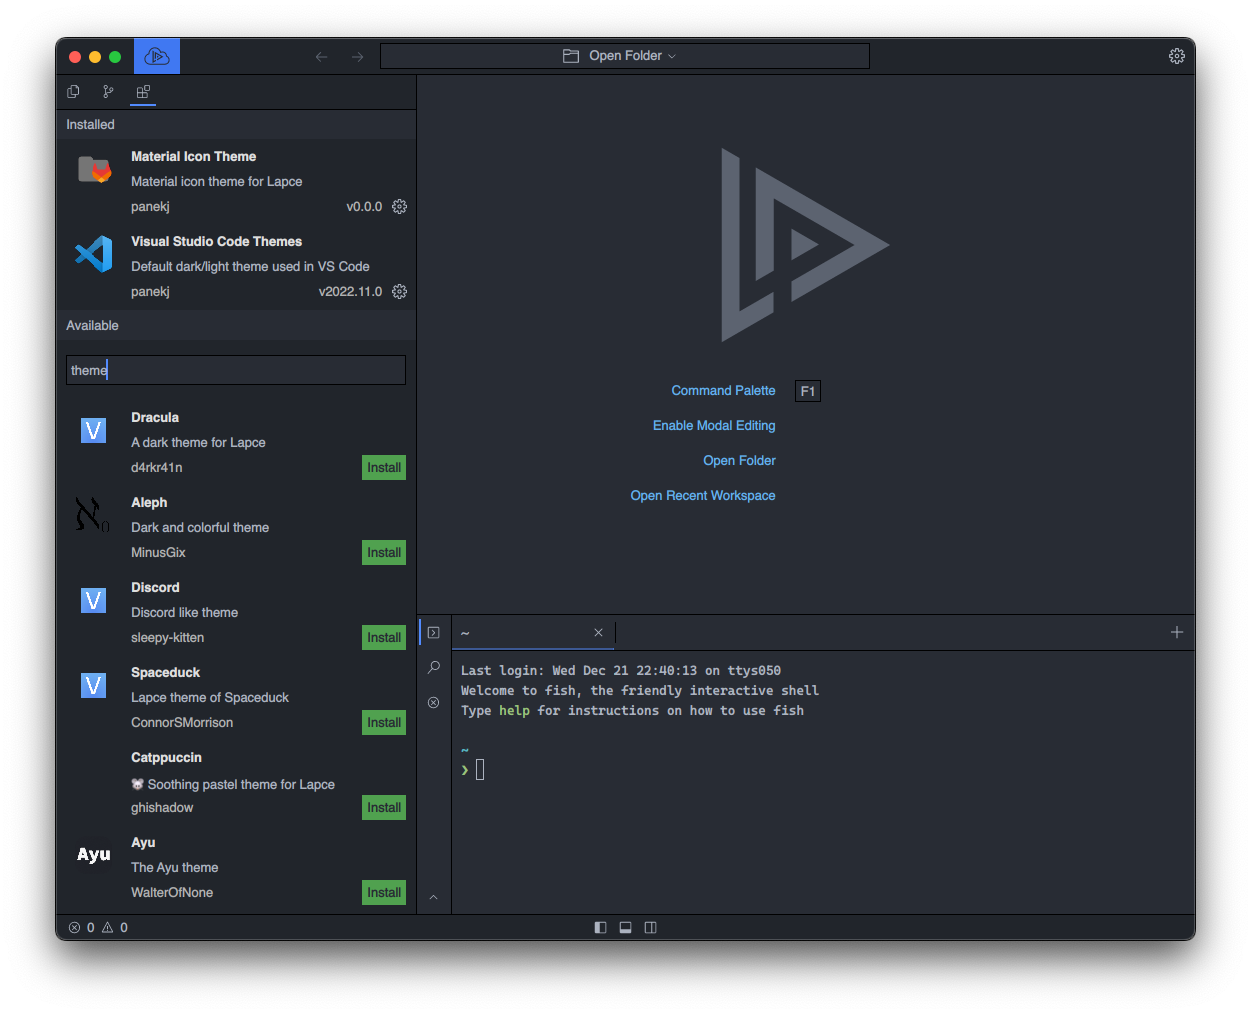
Themes can be installed just like other extensions from the extensions tab
***
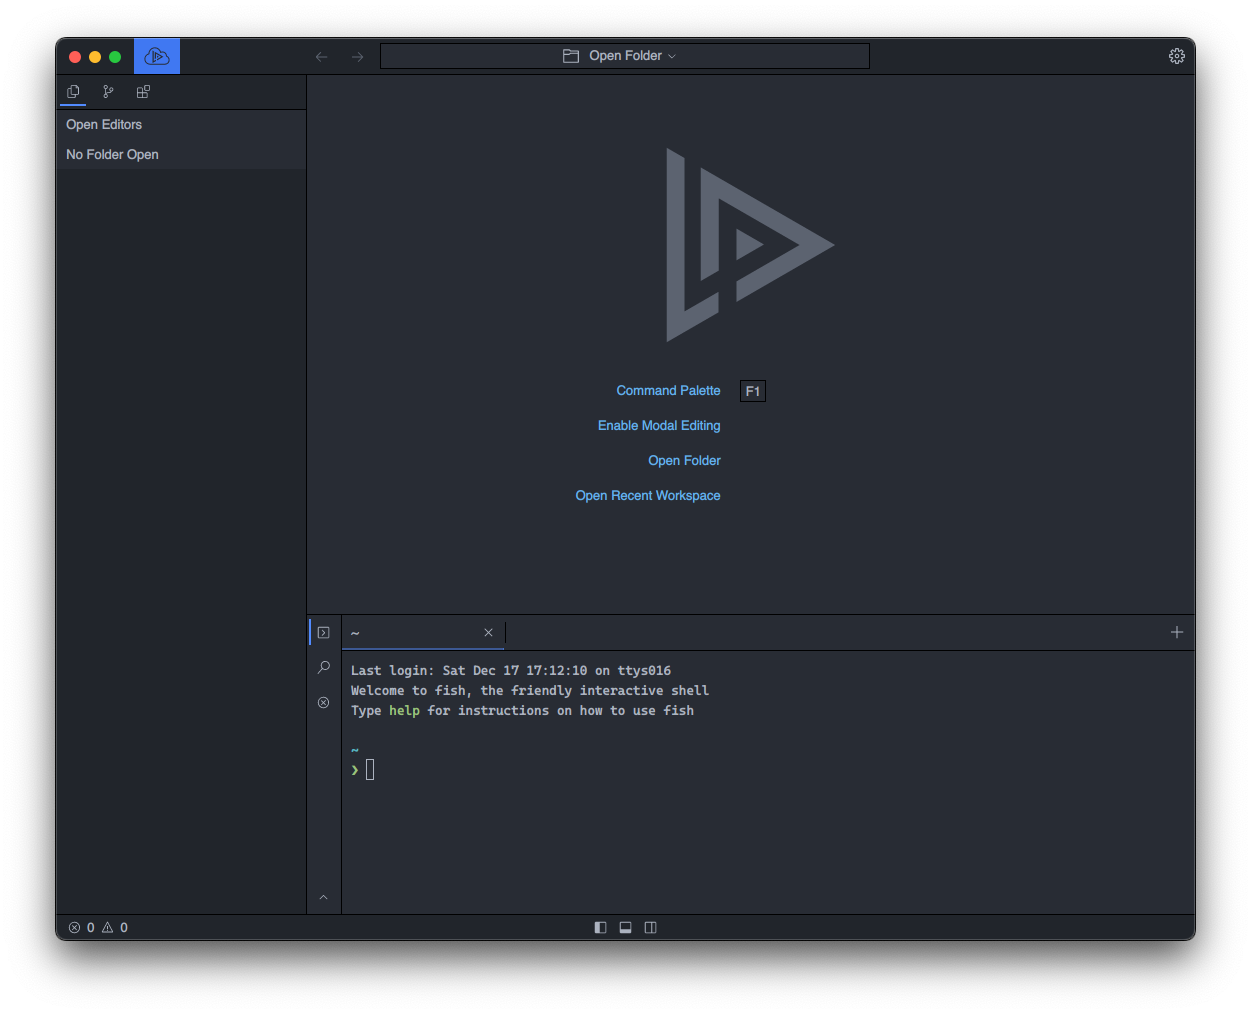
*Lapce with* [*`Ayu Mirage`*](https://plugins.lapce.dev/plugins/WalterOfNone/ayu) *and `Material Icons`*
# Terminal
## Terminal profiles
{% hint style="warning" %}
Terminal profiles are experimental feature and not integrated completely with rest of the editor.
{% endhint %}
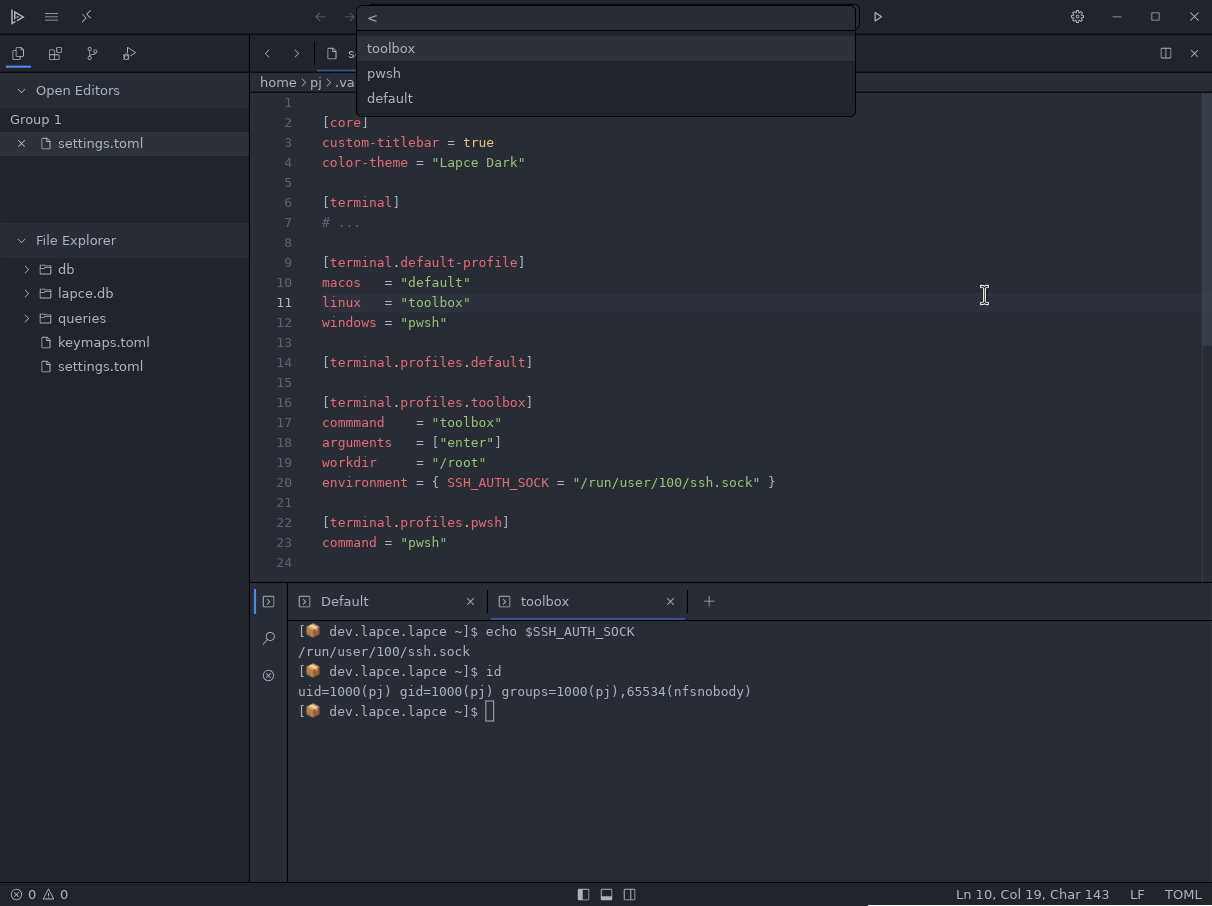
Example `settings.toml` configuration:
```toml
[terminal]
# ...
[terminal.default-profile]
macos = "default"
linux = "toolbox"
windows = "pwsh"
[terminal.profiles.default]
[terminal.profiles.toolbox]
command = "toolbox"
arguments = ["enter"]
workdir = "/root"
environment = { SSH_AUTH_SOCK = "/run/user/100/ssh.sock" }
[terminal.profiles.pwsh]
command = "pwsh"
```
Profiles can be launched via palette using a `<` prefix
# Multiple cursor
## Adding a line
To add the line above or below to the selection, use:
`Ctrl+Alt+ArrowUp` and `Ctrl+Alt+ArrowDown` For Windows and Linux
`Meta+Alt+ArrowUp` and `Meta+Alt+ArrowDown` For macOS
## Insert cursors at end of line
To insert cursors at the end of a line of all current selections, use:
`Alt+Shift+I` For Windows and Linux and macOS
## Select current line
To select lines that current cursors are at, use:
`Ctrl+L` For Windows and Linux
`Meta+L` For macOS
## Select all occurrences at the cursor
To select all occurrences of the current selection, or the word the cursor at, use:
`Ctrl+Shift+L` For Windows and Linux
`Meta+Shift+L` For macOS
## Add next occurrence
To add the next occurrence of the current selection, or the work the cursor at, use:
`Ctrl+D` For Windows and Linux
`Meta+D` For macOS
Or if you want to skip the next occurrence, use:
`Ctrl+K Ctrl+D` For Windows and Linux
`Meta+K Meta+D` For macOS
## Undo cursor
To undo the last cursor action, use:
`Ctrl+U` For Windows and Linux
`Meta+U` For macOS
# Syntax highlighting
Language support such as tokenizing and highlighting is provided by [Tree-sitter](https://tree-sitter.github.io). Each language requires a Tree-sitter grammar to have tokenization and queries to provide additional features such as syntax highlighting.
## Grammars
To learn more about queries, see [Creating Parsers](https://tree-sitter.github.io/tree-sitter/creating-parsers).
Lapce has select few (Rust, JSON, TOML) grammars built-in for convenience. All other languages need to provide an externally loadable grammar in a form of shared library. Lapce will update all supported grammars by default on start-up.
Grammars are stored in `$LOCAL_DATA_DIR/grammars` directory. Each grammar should be named `${DLL_PREFIX}tree-sitter-${NAME}.${DLL_SUFFIX}` where `${NAME}` refers to language name and `${DLL_PREFIX}`/`${DLL_SUFFIX}` refer to OS defined constants for shared libraries (see [`DLL_PREFIX`](https://doc.rust-lang.org/std/env/consts/constant.DLL_PREFIX.html) and [`DLL_EXTENSION`](https://doc.rust-lang.org/std/env/consts/constant.DLL_EXTENSION.html)).
Grammars are loaded in order:
1. User provided grammar
2. System provider grammar
3. Built-in grammar
## Queries
To learn more about queries, see [Syntax Highlighting#Queries](https://tree-sitter.github.io/tree-sitter/syntax-highlighting#queries).
Queries are stored in `$SETTINGS_DIR/queries/$LANGUAGE`. Currently only `highlights.scm` are supported.
## Language
For Lapce to know how to deal with files, it's required to include a language definition which contains which filenames or extensions to match to language, what indent or comment type it uses and additional configuration (that depends on tree-sitter) such as code lens (unrelated to LSP code lens) or sticky headers tokens.
Languages are defined in [`lapce-core/src/language.rs`](https://github.com/lapce/lapce/blob/master/lapce-core/src/language.rs).
## Language Server Protocol
LSP providers should define `DocumentSelector` via the extension API and/or through `volt.toml` extension manifest. It can be otherwise defined through `language_id_from_path` in [`lapce-proxy/src/buffer.rs`](https://github.com/lapce/lapce/blob/master/lapce-proxy/src/buffer.rs).
# Architecture
## Frontend
The frontend uses [Floem](https://github.com/lapce/floem) for the GUI of Lapce.
## Proxy
The `lapce-proxy` sub crate provides the interface between the frontend, and the file system, plugins and [LSP](https://microsoft.github.io/language-server-protocol/) servers, so Lapce talks to files, plugins, LSP servers through the proxy. The reason for that is to provide the ability for remote development. In remote development mode, the `lapce-proxy` binary runs on the remote host, to provide seamless code editing, project management and language interaction .
## File Editing
Here is the flow of a typical file editing process. When you open a file in the GUI, `lapce-app` talks to `lapce-proxy` which reads the file from local disk and responds with the content of the file. `lapce-app` stores the file content locally. `lapce-proxy` receives the change, and applies the change locally which make the file content in sync. When you save the file in the GUI, `lapce-app` sends the file save request to `lapce-proxy`, and `lapce-proxy` saves the file to the local disk.
# Plugin development
## Publish plugin
You can publish your plugin to the Lapce plugin registry ([https://plugins.lapce.dev/](http://plugins.lapce.dev/)) by a cli.
To install the cli, run
`cargo install volts`
On plugins.lapce.dev, login via Github, and you can create an API token to use for the cli.
Then in the plugin folder, run
`volts publish`
It should publish the plugin to the registry.
# Theme
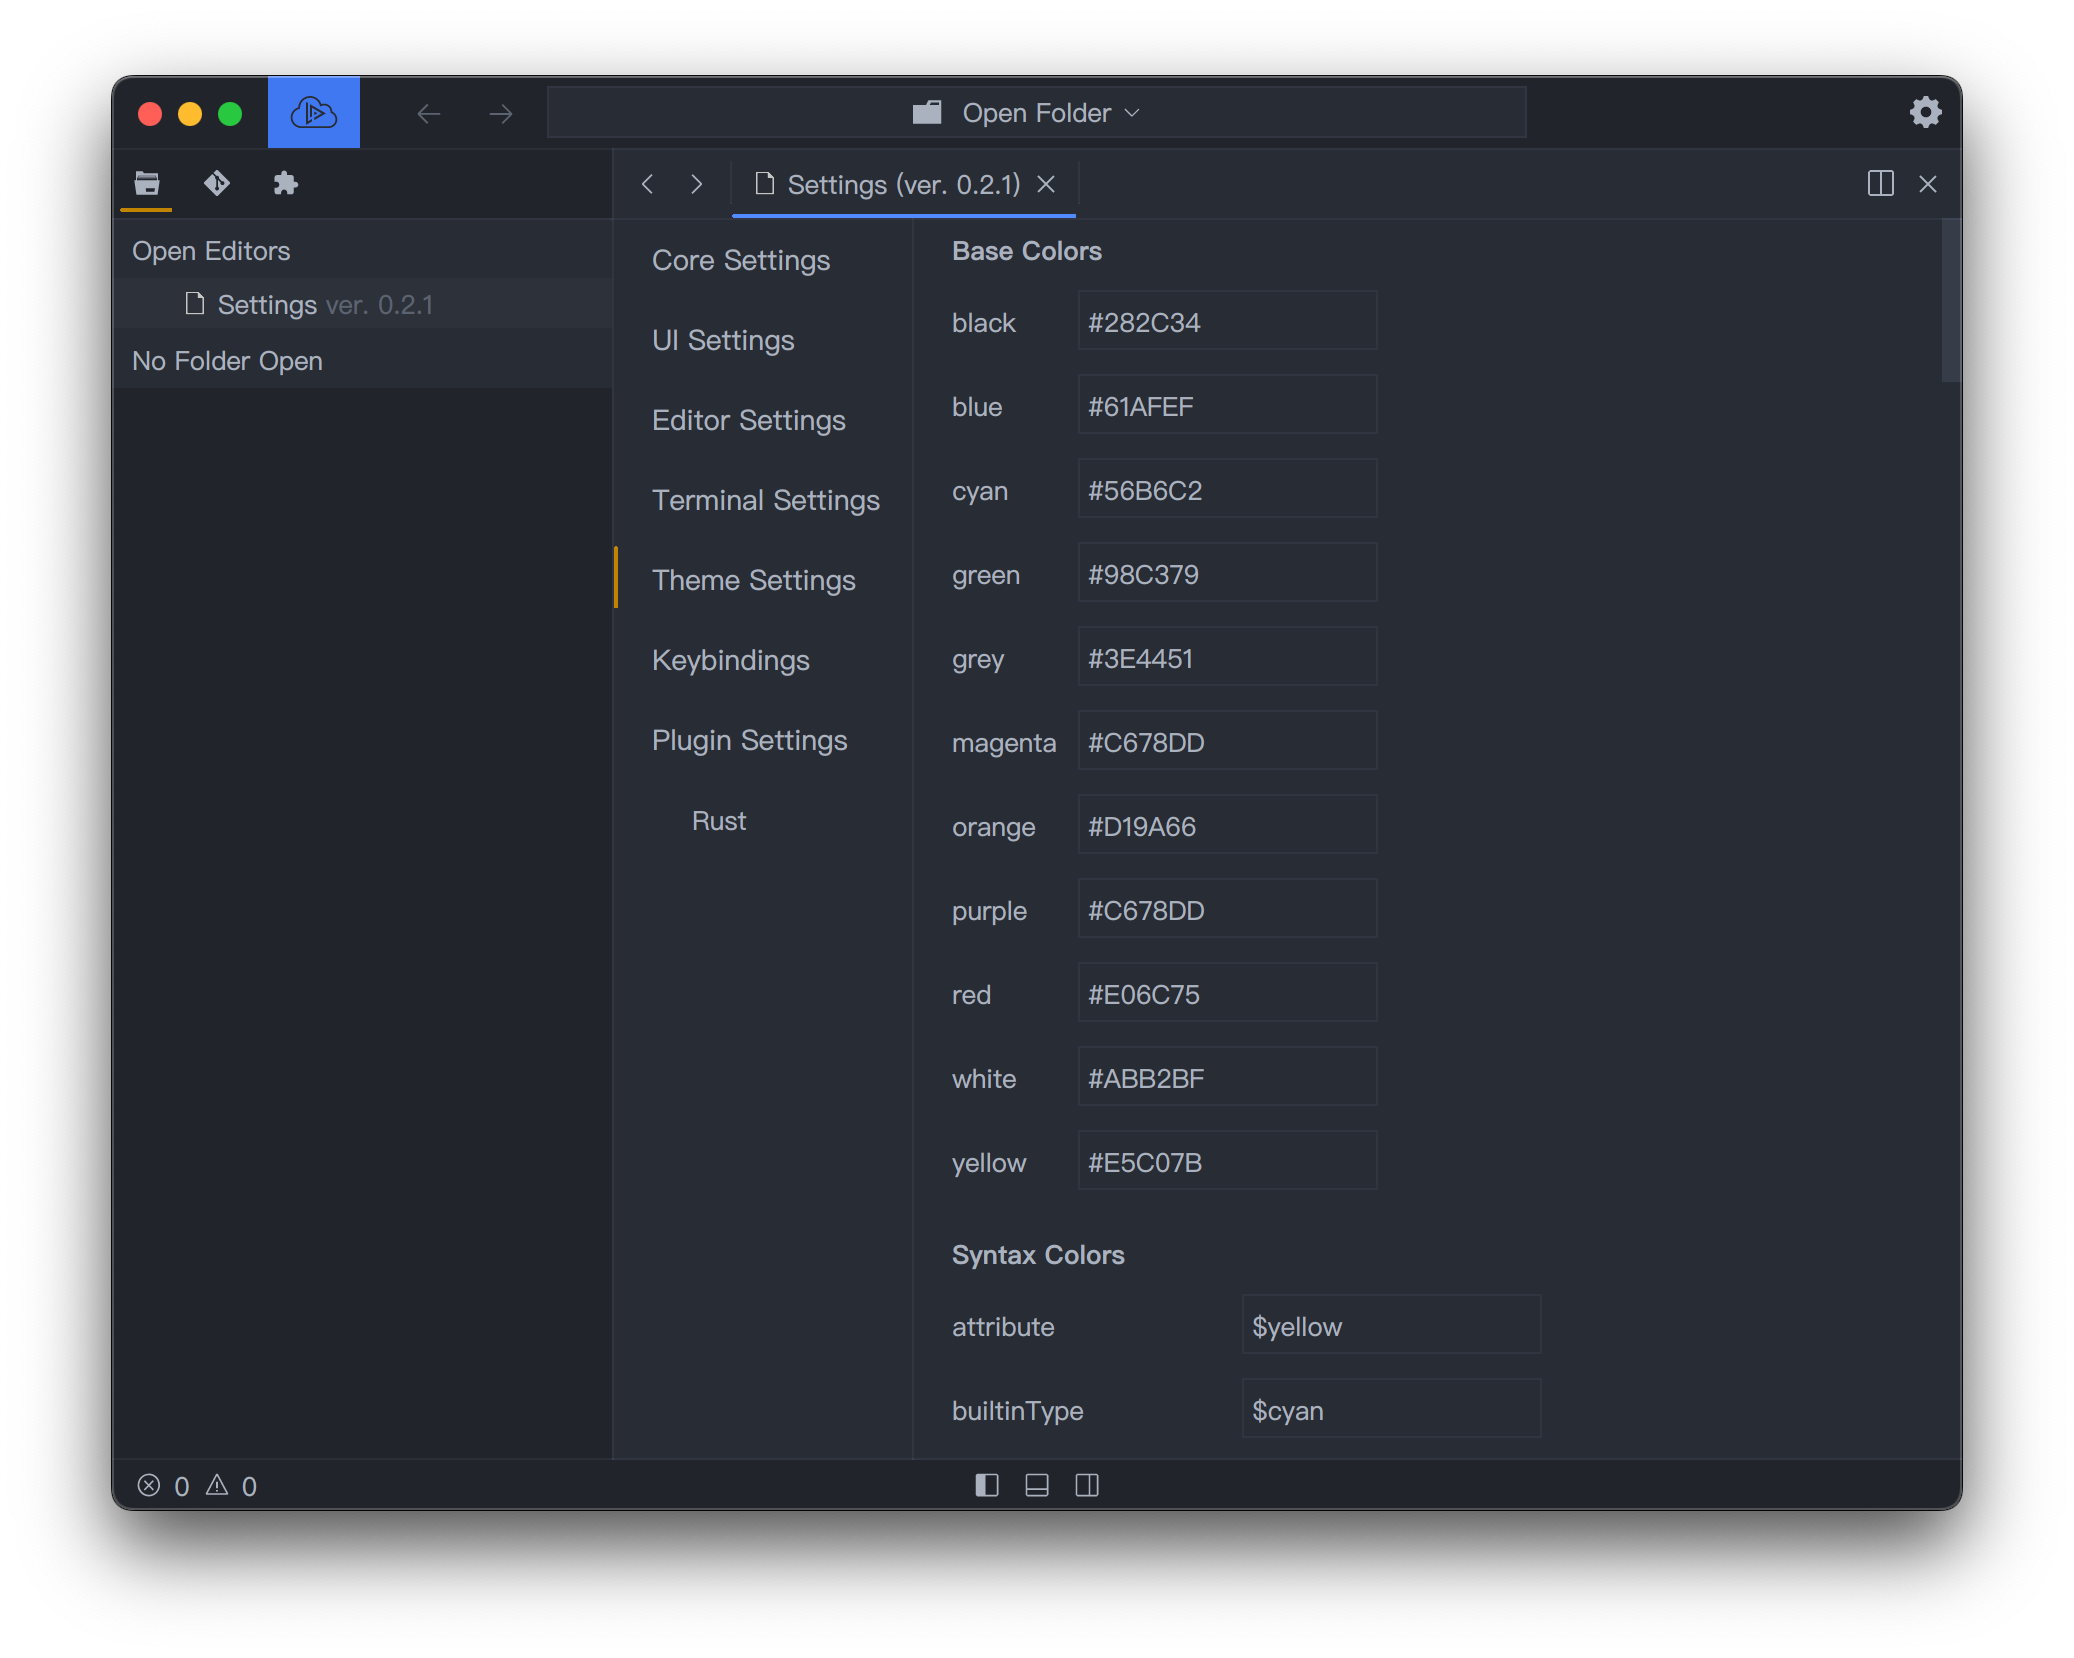
Developing a theme plugin for Lapce is easy. Firstly [open settings](/get-started/settings), and you can change colours in theme settings, and change the UI appearance in UI Settings.
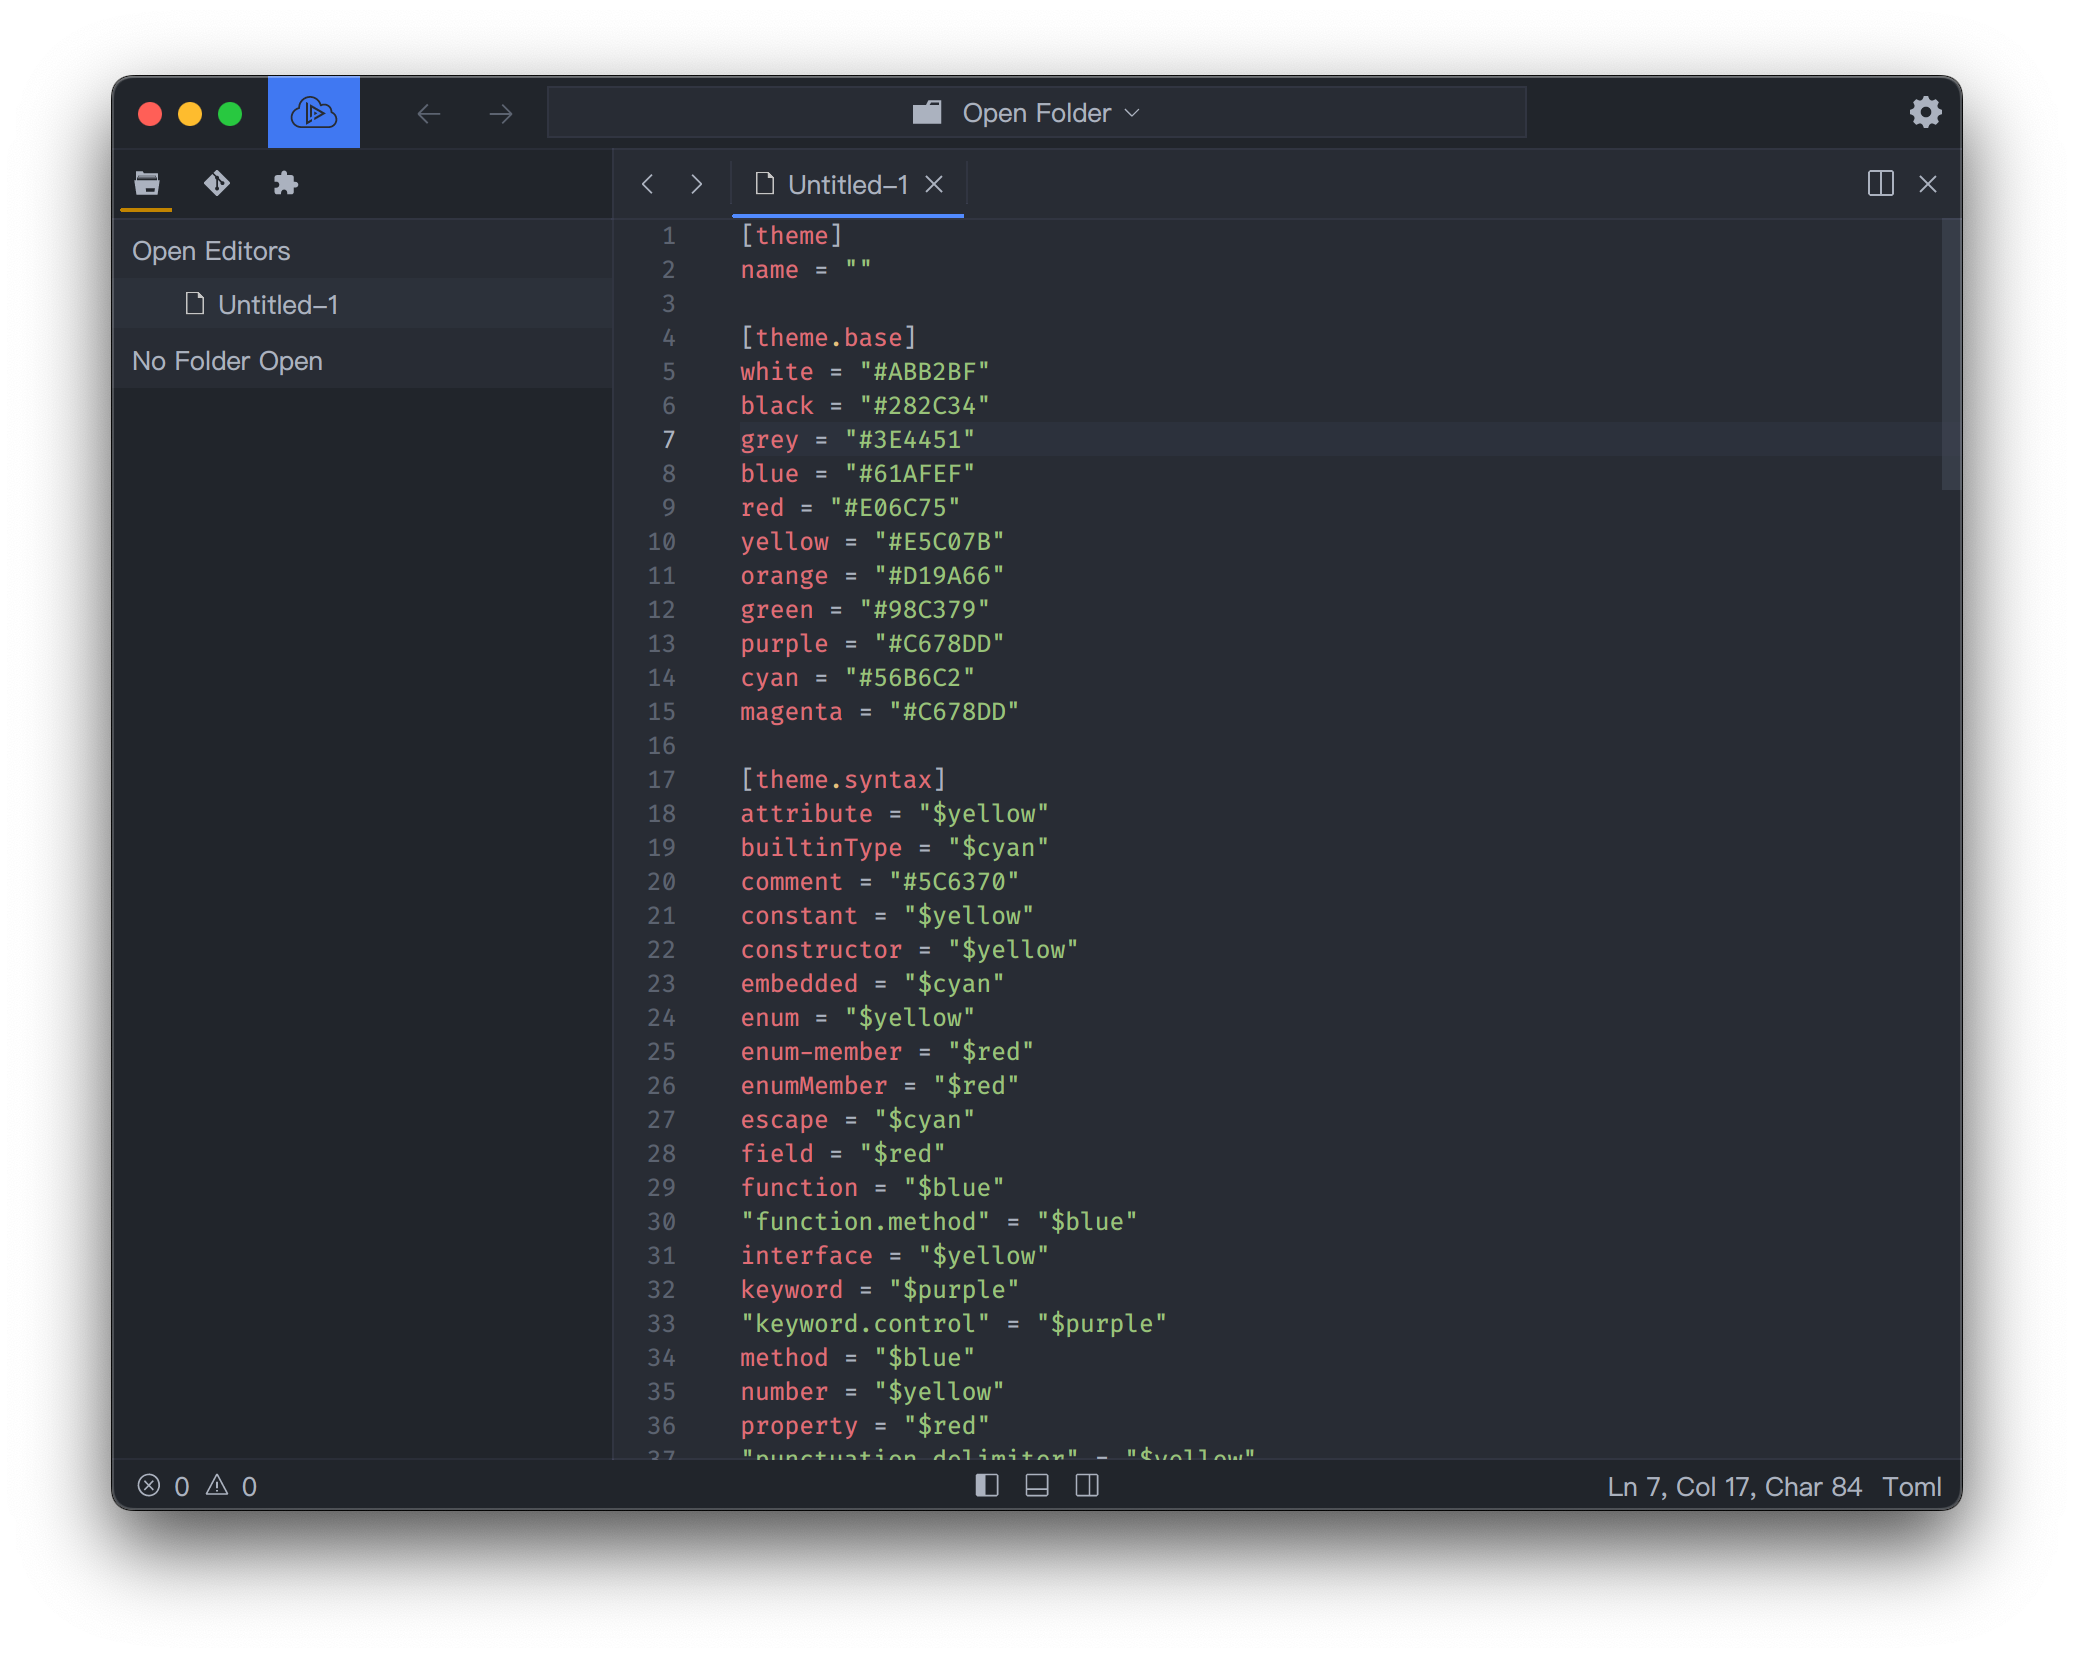
[Open command palette](/get-started/command-palette), choose the command `Export current settings to a theme file`, it will generate the theme file for you.
Change the name of the theme, and save the file.
To create a theme plugin for Lapce, follow the format of this repo , the important files are `volt.toml` and the theme file.
After that is done, you can [publish it](/development/plugin-development#publish-plugin).


 ## Frontend
The frontend uses [Floem](https://github.com/lapce/floem) for the GUI of Lapce.
## Proxy
The `lapce-proxy` sub crate provides the interface between the frontend, and the file system, plugins and [LSP](https://microsoft.github.io/language-server-protocol/) servers, so Lapce talks to files, plugins, LSP servers through the proxy. The reason for that is to provide the ability for remote development. In remote development mode, the `lapce-proxy` binary runs on the remote host, to provide seamless code editing, project management and language interaction .
## File Editing
Here is the flow of a typical file editing process. When you open a file in the GUI, `lapce-app` talks to `lapce-proxy` which reads the file from local disk and responds with the content of the file. `lapce-app` stores the file content locally. `lapce-proxy` receives the change, and applies the change locally which make the file content in sync. When you save the file in the GUI, `lapce-app` sends the file save request to `lapce-proxy`, and `lapce-proxy` saves the file to the local disk.
# Plugin development
## Publish plugin
You can publish your plugin to the Lapce plugin registry ([https://plugins.lapce.dev/](http://plugins.lapce.dev/)) by a cli.
To install the cli, run
`cargo install volts`
On plugins.lapce.dev, login via Github, and you can create an API token to use for the cli.
Then in the plugin folder, run
`volts publish`
It should publish the plugin to the registry.
# Theme
Developing a theme plugin for Lapce is easy. Firstly [open settings](/get-started/settings), and you can change colours in theme settings, and change the UI appearance in UI Settings.
## Frontend
The frontend uses [Floem](https://github.com/lapce/floem) for the GUI of Lapce.
## Proxy
The `lapce-proxy` sub crate provides the interface between the frontend, and the file system, plugins and [LSP](https://microsoft.github.io/language-server-protocol/) servers, so Lapce talks to files, plugins, LSP servers through the proxy. The reason for that is to provide the ability for remote development. In remote development mode, the `lapce-proxy` binary runs on the remote host, to provide seamless code editing, project management and language interaction .
## File Editing
Here is the flow of a typical file editing process. When you open a file in the GUI, `lapce-app` talks to `lapce-proxy` which reads the file from local disk and responds with the content of the file. `lapce-app` stores the file content locally. `lapce-proxy` receives the change, and applies the change locally which make the file content in sync. When you save the file in the GUI, `lapce-app` sends the file save request to `lapce-proxy`, and `lapce-proxy` saves the file to the local disk.
# Plugin development
## Publish plugin
You can publish your plugin to the Lapce plugin registry ([https://plugins.lapce.dev/](http://plugins.lapce.dev/)) by a cli.
To install the cli, run
`cargo install volts`
On plugins.lapce.dev, login via Github, and you can create an API token to use for the cli.
Then in the plugin folder, run
`volts publish`
It should publish the plugin to the registry.
# Theme
Developing a theme plugin for Lapce is easy. Firstly [open settings](/get-started/settings), and you can change colours in theme settings, and change the UI appearance in UI Settings.